From the first excavator on site to the day you get the keys, here is what happens in each phase of a BC custom home build, and what you actually do as the homeowner along the way.
A client stood in her framed house last spring, on the second floor, in a room that was still open studs and open sky. She told us it was the first time the drawings felt like a real place. Then she asked the question every owner asks around that point: what happens next, and what do I need to decide before it happens?
That is the honest way to understand a build. It is not a countdown to move-in. It is a set of phases that run in a fixed order, each one handing off to the next. You cannot pour concrete around a decision nobody has made yet, and you cannot insulate a wall until the wiring inside it has passed inspection. Once you can see the order, the build stops feeling like a mystery.
This is the full run, phase by phase, the way we build a custom home on a BC lot: what the crew is doing, why the order cannot be skipped, and what you own as the homeowner in each stage. It picks up where the design timeline in Burnaby leaves off. For the big-picture calendar, see how long a custom home takes in BC.
The ten phases, in the order they run:
- Site preparation
- Foundation
- Framing
- Building envelope and close-in
- Mechanical rough-in
- Insulation and air-sealing
- Drywall
- Interior and exterior finishes
- The deficiency list
- Occupancy and keys
Each phase is covered in full below.
Phase 1, Site preparation
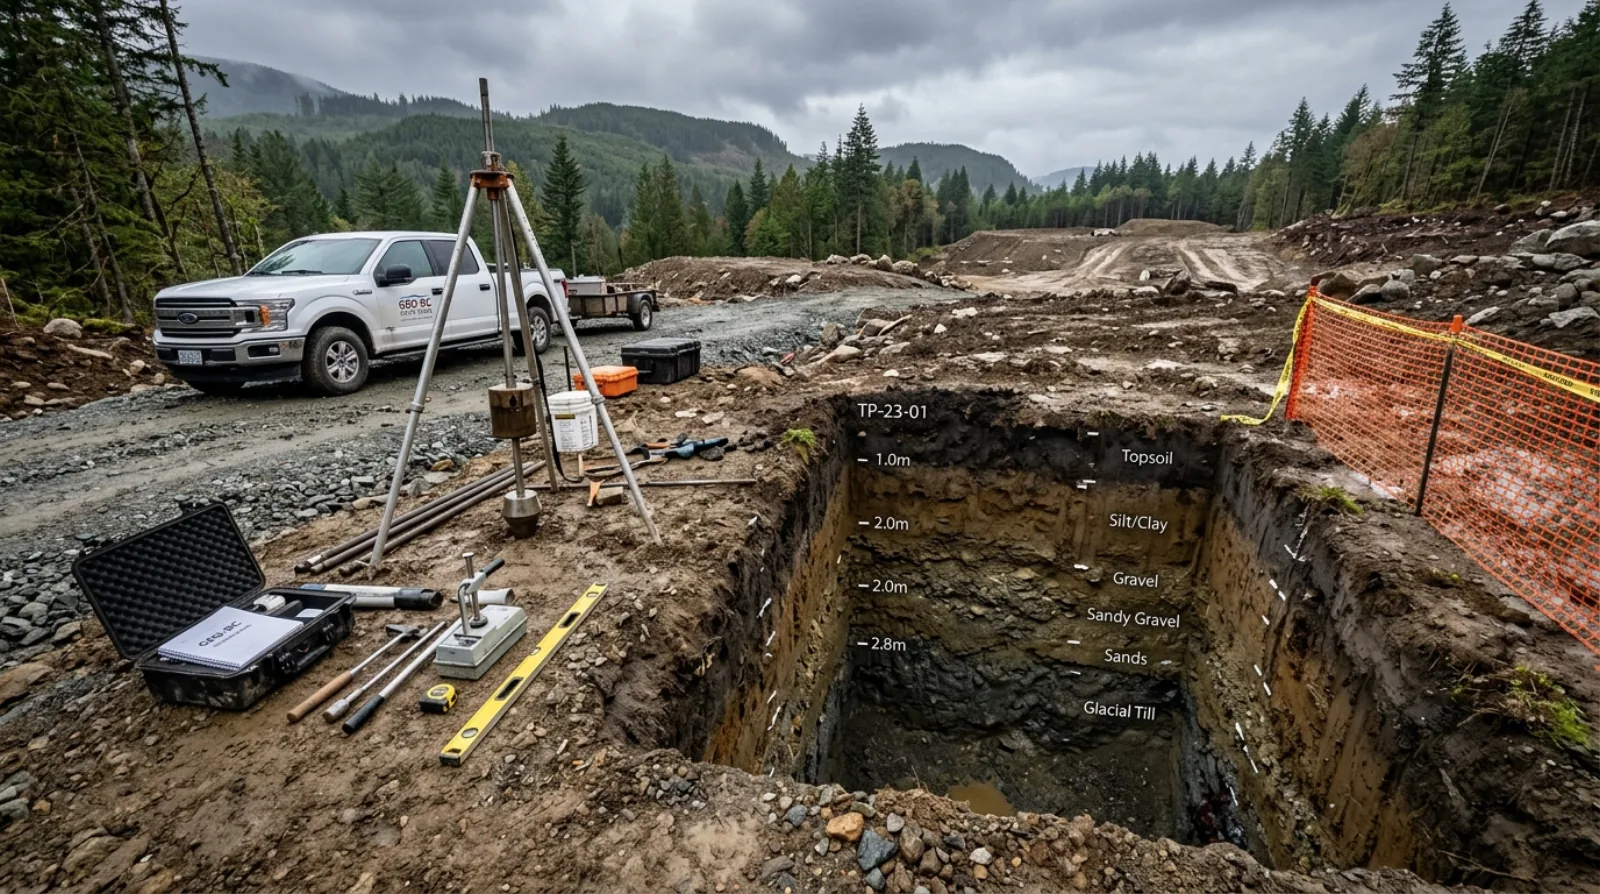
Before anything goes up, the lot has to be made ready. On a teardown, that means the demolition of the old house, hauling the debris, and clearing the ground. Then comes the survey layout, the excavation for the foundation, and any shoring or retaining that a sloped lot needs. Services get located and, where needed, disconnected or relocated. Sediment and erosion controls go in so the site does not wash silt into the street or the storm system through the wet months.
This phase sets the level and the drainage for everything above it. Get the grading wrong here and water problems follow the house for its whole life. We walk through the full scope in site preparation on a Burnaby teardown lot.
What you do as the homeowner. Mostly stay clear and let the machines work. Your real job here already happened, in the lot evaluation and the geotechnical work during design. If a surprise turns up in the ground, unexpected fill, an old buried tank, groundwater higher than the report suggested, this is when you hear about it, and this is when you may need to make a call.
Phase 2, Foundation
Once the hole is dug and the base is prepared, the foundation goes in. Footings first, then walls, whether that is a full basement, a crawlspace, or a slab. Waterproofing goes on the outside of the below-grade walls. The perimeter drain, drain rock, and the connection back to the storm system get installed. Then the excavation gets backfilled and the foundation is ready to carry the house.
The foundation is inspected before anything sits on it. On a sloped or fill lot, the geotechnical engineer signs off that what got built matches what the report called for. This is a phase where doing it right costs a fraction of what fixing it later costs.
What you do as the homeowner. little, and that is the point. The foundation is engineered, not styled. Your decisions here were made on paper months ago. Watch the concrete go in if you want to, it is one of the more satisfying days, but there is nothing to select.
Phase 3, Framing
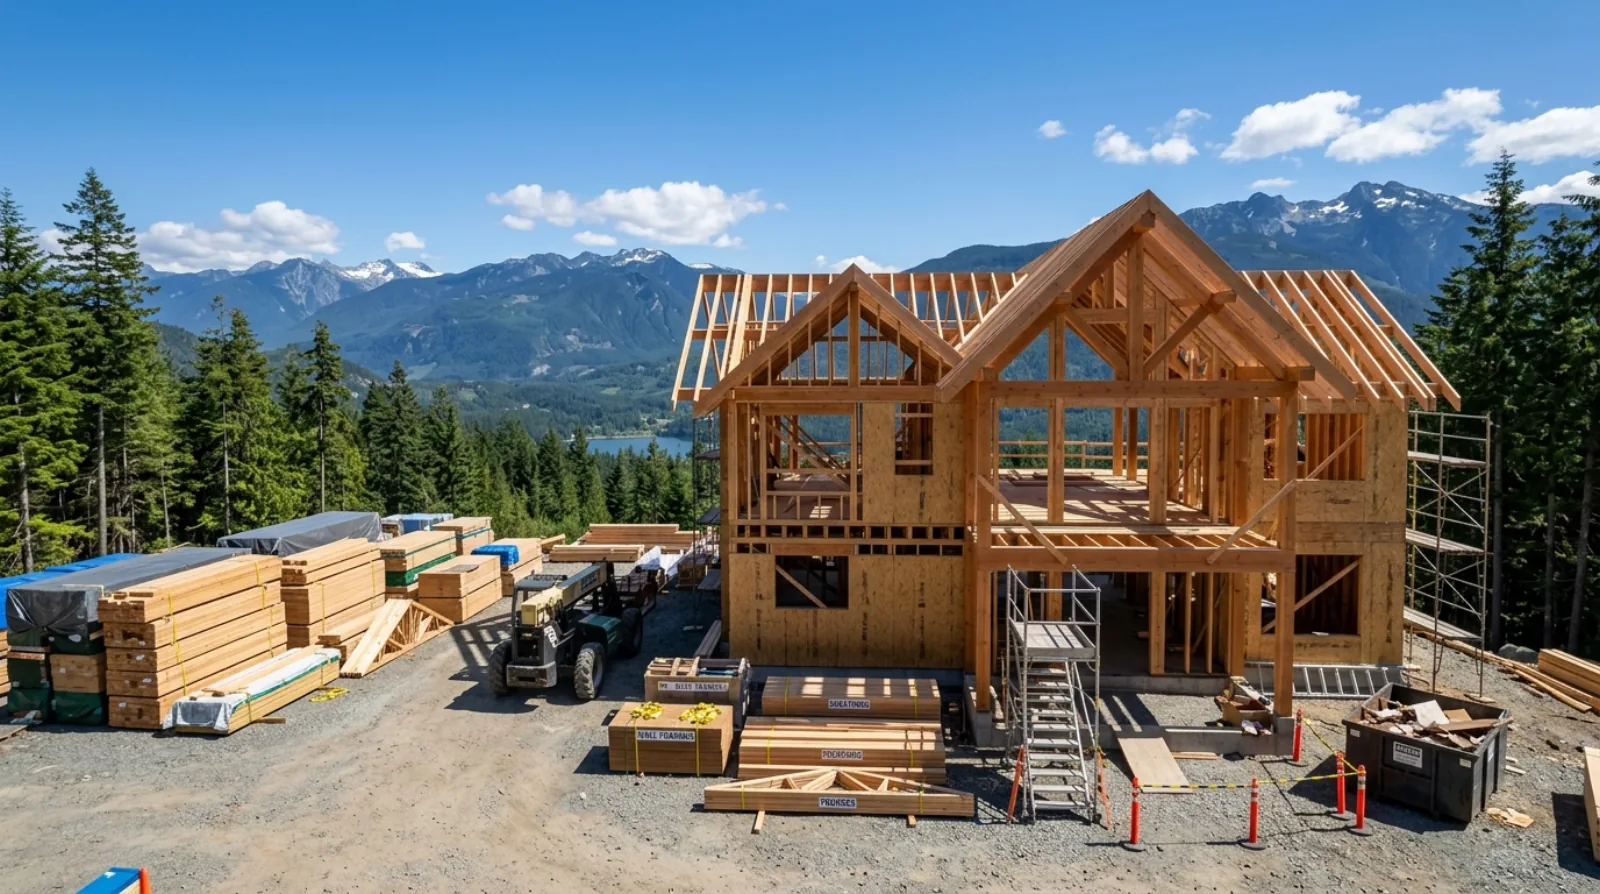
Framing is the phase where the house becomes real to almost everyone. The floors, walls, and roof structure go up, and for the first time you can walk the rooms and feel the sizes. Sheathing goes on the walls and roof, and the structure gets tied together for its racking strength. The roof gets covered so the inside is protected from weather.
This is when owners often want to change things, because the space finally feels tangible. A window that looked fine on paper suddenly seems too small. A wall feels like it is in the wrong place. Small framing tweaks are sometimes possible here, but every change at this stage ripples: it can touch the structural drawings, the energy model, the mechanical layout, and the finish plan.
What you do as the homeowner. Walk the framed house with your builder. This is the right moment to confirm the layout feels right before it closes in. Ask about anything that surprises you. Just know that the cheaper time to move a wall was on the drawings, not now.
Phase 4, Building envelope and close-in
With the frame up, the house gets closed in against the weather. Windows and exterior doors get set into their openings with the flashing done in the right order. The water-resistive barrier goes on. The rainscreen strapping and cladding follow, creating the drained and vented gap that BC's wet climate demands. The roof gets finished. This is the wall that keeps water out for the next thirty years, and it is judged against a five-year warranty, so the detailing matters more than almost anything else on the build.
We cover the whole assembly in the building envelope and rainscreen on a Burnaby custom home. Once the house is weather-tight, the interior work can proceed without the rain slowing it down.
What you do as the homeowner. Confirm your window and cladding selections have already been locked, because they were ordered weeks earlier and they are being installed now. There is nothing to decide fresh here, only to see the choices you made turn into the outside of your house.
Phase 5, Mechanical rough-in
With the shell closed and dry, the trades run their systems through the open walls and floors. Plumbing rough-in sets the drain, waste, vent, and supply lines. Electrical rough-in pulls the wiring for every outlet, switch, light, and low-voltage run. The heating, cooling, and ventilation get roughed in: ductwork, the heat pump lines, the HRV runs. Any radiant tubing goes in the floor.
This is the phase where the walls are still open, so it is the last chance to place things exactly. Every outlet location, every light, every plumbing fixture rough gets set to the plan. We detail the wiring side in electrical planning and the water side in plumbing rough-in.
What you do as the homeowner. This is your most important on-site decision phase. Walk the rough-in with your builder and confirm outlet and switch locations, where the TV and appliances go, shower and faucet positions, and any low-voltage runs for future needs. Adding a plug now costs a fraction of adding one after the drywall is up.
Phase 6, Insulation and air-sealing
Once the rough-in passes inspection, the walls get insulated and the house gets sealed against air leaks. This is the phase that decides how comfortable and how efficient the home will be. The air barrier gets completed and tested with a blower door under the BC Energy Step Code. A tight house is a quiet, even, low-energy house, but it only stays healthy because the drying paths, the vented rainscreen outside and the ventilation system inside, were designed in alongside the tightness.
We go deeper on this in insulation and air-sealing for a Burnaby custom home. Nothing here is visible once drywall goes up, which is exactly why it gets inspected first.
What you do as the homeowner. Nothing to select, but it is worth understanding what is happening. The tightness of your house is being set right now, and it is one of the things you can never easily change later.
Phase 7, Drywall
With insulation and rough-in inspected and closed, the drywall goes up. The boards get hung, taped, mudded, and sanded until the walls and ceilings are smooth and ready for paint. This phase transforms the inside from a skeleton of studs into actual rooms with real surfaces.
Drywall is also the point of no return for anything hidden in the walls. Once the board is up, moving a wire or a pipe means opening it back up. That is why the rough-in walkthrough matters so much, and why we run a careful pre-drywall walkthrough before a single sheet goes on.
What you do as the homeowner. Do the pre-drywall walkthrough seriously. This is your last look inside the walls. After this, the house closes up and the finishes begin.
Phase 8, Interior and exterior finishes
This is the long, detailed phase where the house becomes yours. Cabinetry and millwork go in. Tile and stone get set and waterproofed. Flooring goes down. Interior doors, trim, and hardware get installed. Countertops are templated and fitted. Painting happens. Light fixtures, plumbing fixtures, and appliances get set. Outside, the deck, the driveway, the landscaping, and the final grading come together.
This is the phase with the most moving parts and the most selections behind it. Every one of these items was chosen and ordered earlier, which is why the boring early decisions decide whether this phase runs smooth or stalls waiting on a backordered tile.
What you do as the homeowner. By now your selections are set, so your job is to let the trades work and answer the occasional question. Resist the urge to change finishes mid-install. A late swap on a countertop or a cabinet can send the schedule sideways.
Phase 9, The deficiency list
Near the end, the house gets a thorough walkthrough to catch the small things: a scuff on a wall, a door that does not swing cleanly, a bit of caulk that needs redoing, a cabinet hinge that needs adjusting. These get written on a deficiency list and worked through before handover. The City inspector also does the final inspections that lead to occupancy.
A good deficiency process is documented and closed out item by item, not waved off. We run it as a formal sweep, the pre-occupancy deficiency walkthrough, so nothing gets lost.
What you do as the homeowner. Walk the house with fresh eyes and point out anything that looks off. This is the moment to be thorough. It is easier to fix a deficiency now than to chase it as a callback after you have moved in.
Phase 10, Occupancy and keys
The final phase is the handover. The City signs off on occupancy, the last deficiencies get closed, and you get the keys. This is also the moment the 2-5-10 warranty clock starts: two years on materials and labour, five on the building envelope, ten on the structure.
At handover you receive the documentation: the warranty certificate, the appliance manuals, the finish and paint schedules, and the maintenance guidance for the first year. Keep all of it together. It makes the first year, and any warranty conversation, far easier.
What you do as the homeowner. Move in, live in the house, and keep a simple running list through the first year. Then use the first-year maintenance and warranty playbook to close out year one properly.
A build is not a countdown. It is a set of phases that hand off in order, and the owner who understands the handoffs is the owner who never gets surprised.
Icon Projects Team
Frequently asked questions
- What are the main phases of building a custom home in BC?
- A custom home build runs in this order: site preparation, foundation, framing, building envelope and close-in, mechanical rough-in, insulation and air-sealing, drywall, interior and exterior finishes, the deficiency list, and finally occupancy and keys. Each phase depends on the one before it, so the sequence cannot be reshuffled. At Icon Projects we plan the whole run before the first machine arrives on site, so the trades stack in the right order and the material orders land when each phase needs them.
- What does the homeowner actually do during construction?
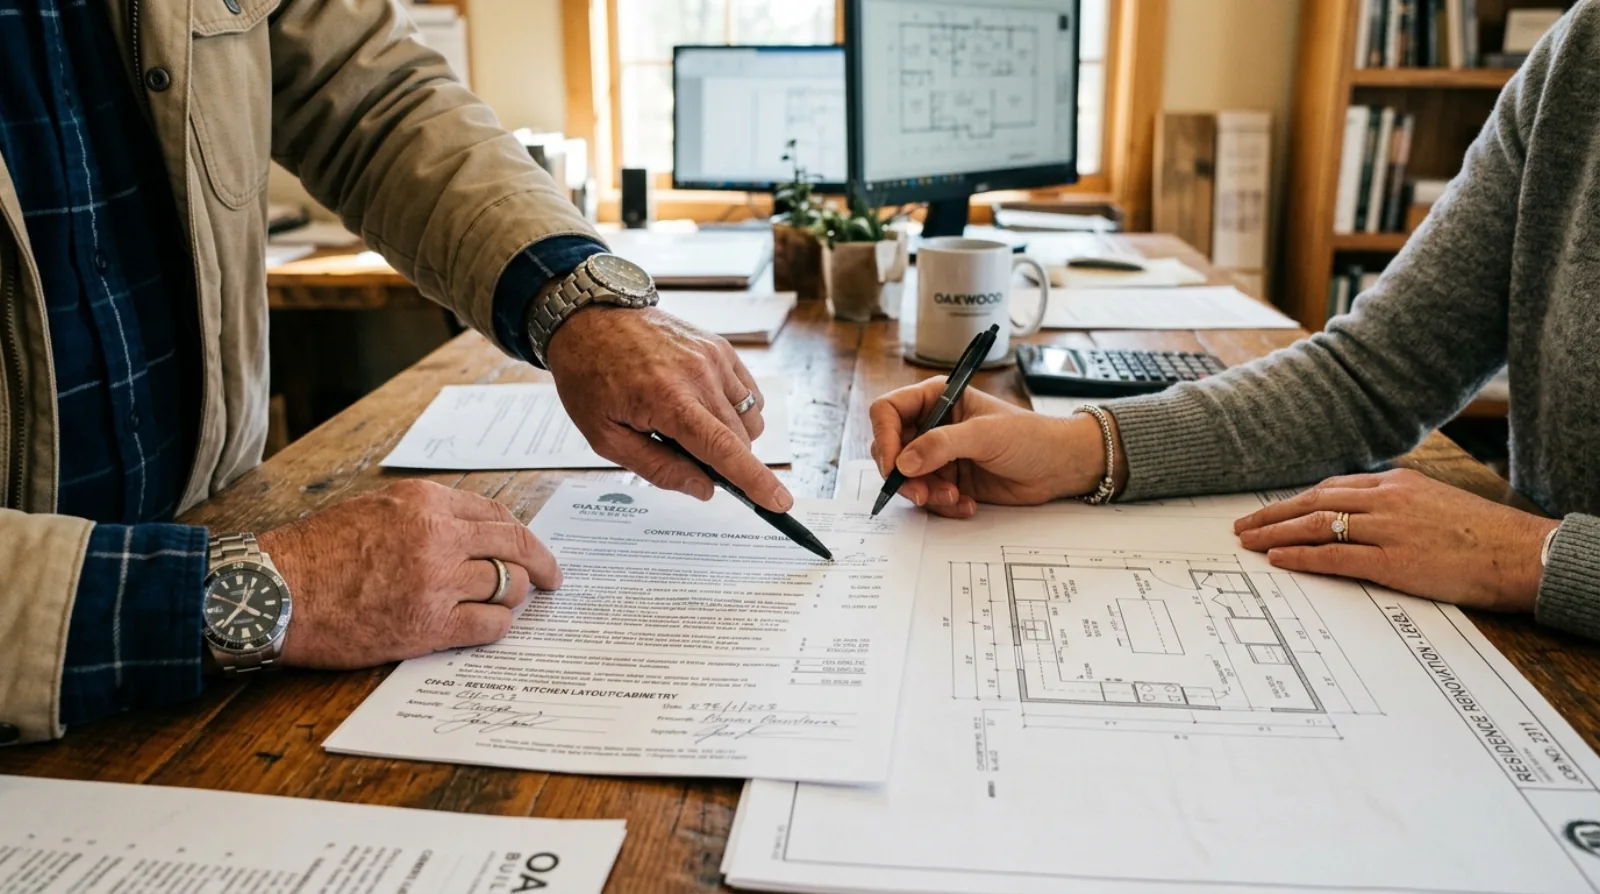
- Most of the homeowner's real work happens in the early design phase, but a few decisions come due during construction. You confirm finishes and fixtures before the trades reach them, walk the framed house before it closes in, review the pre-drywall stage, and sign off at the final walkthrough. At Icon Projects we tell owners the golden rule: make the selections early, then let the crew work. A change asked for late in one phase can ripple back through several others.
- Why can't construction phases be done out of order or at the same time?
- Because each phase covers up the work of the one before it. Framing has to be inspected before insulation hides it. Rough-in wiring and plumbing have to be in and checked before drywall closes the walls. Concrete cures before framing loads it. Some phases overlap at the edges, but the core order is fixed by both building science and the BC inspection schedule. At Icon Projects we treat the sequence as the master plan that keeps the build moving without rework.
- What happens during the site preparation phase of a BC custom home build?
- Site preparation covers demolition of an existing structure on a teardown lot, hauling debris, survey layout, excavation for the foundation, any shoring a sloped lot needs, locating and disconnecting services, and installing sediment and erosion controls. This phase sets the level and drainage for everything built above it, so getting the grading wrong here creates water problems that follow the house for its whole life.
- What is the mechanical rough-in phase, and why does it matter so much to homeowners?
- Mechanical rough-in is when plumbing drain, waste, vent, and supply lines, electrical wiring for every outlet and switch, and heating, cooling, and ventilation ductwork all get run through the open walls and floors. At Icon Projects this is the homeowner's most important on-site decision phase, since the walls are still open and it is the last chance to confirm outlet locations, appliance placement, and fixture positions before drywall closes everything up.
- What is the deficiency list at the end of a custom home build?
- The deficiency list is a thorough walkthrough near the end of construction that catches small remaining issues, a scuff on a wall, a door that does not swing cleanly, a cabinet hinge that needs adjusting. At Icon Projects these items get documented and closed out one by one before handover, alongside the City inspector's final inspections that lead to occupancy.
- When does the 2-5-10 home warranty clock start on a new BC custom home?
- The warranty clock starts at occupancy, when the City signs off, the last deficiencies are closed, and the homeowner receives the keys. From that date, BC's mandatory 2-5-10 warranty runs two years on materials and labour, five years on the building envelope, and ten years on the structure.
- What documentation does a homeowner receive when a BC custom home is complete?
- At handover, Icon Projects provides the warranty certificate, appliance manuals, finish and paint schedules, and maintenance guidance for the first year. Keeping this documentation together makes the first year of living in the home, and any future warranty conversation, significantly easier to manage.