Process
The Pre-Drywall Walkthrough: What to Check Before Insulation Closes the Walls
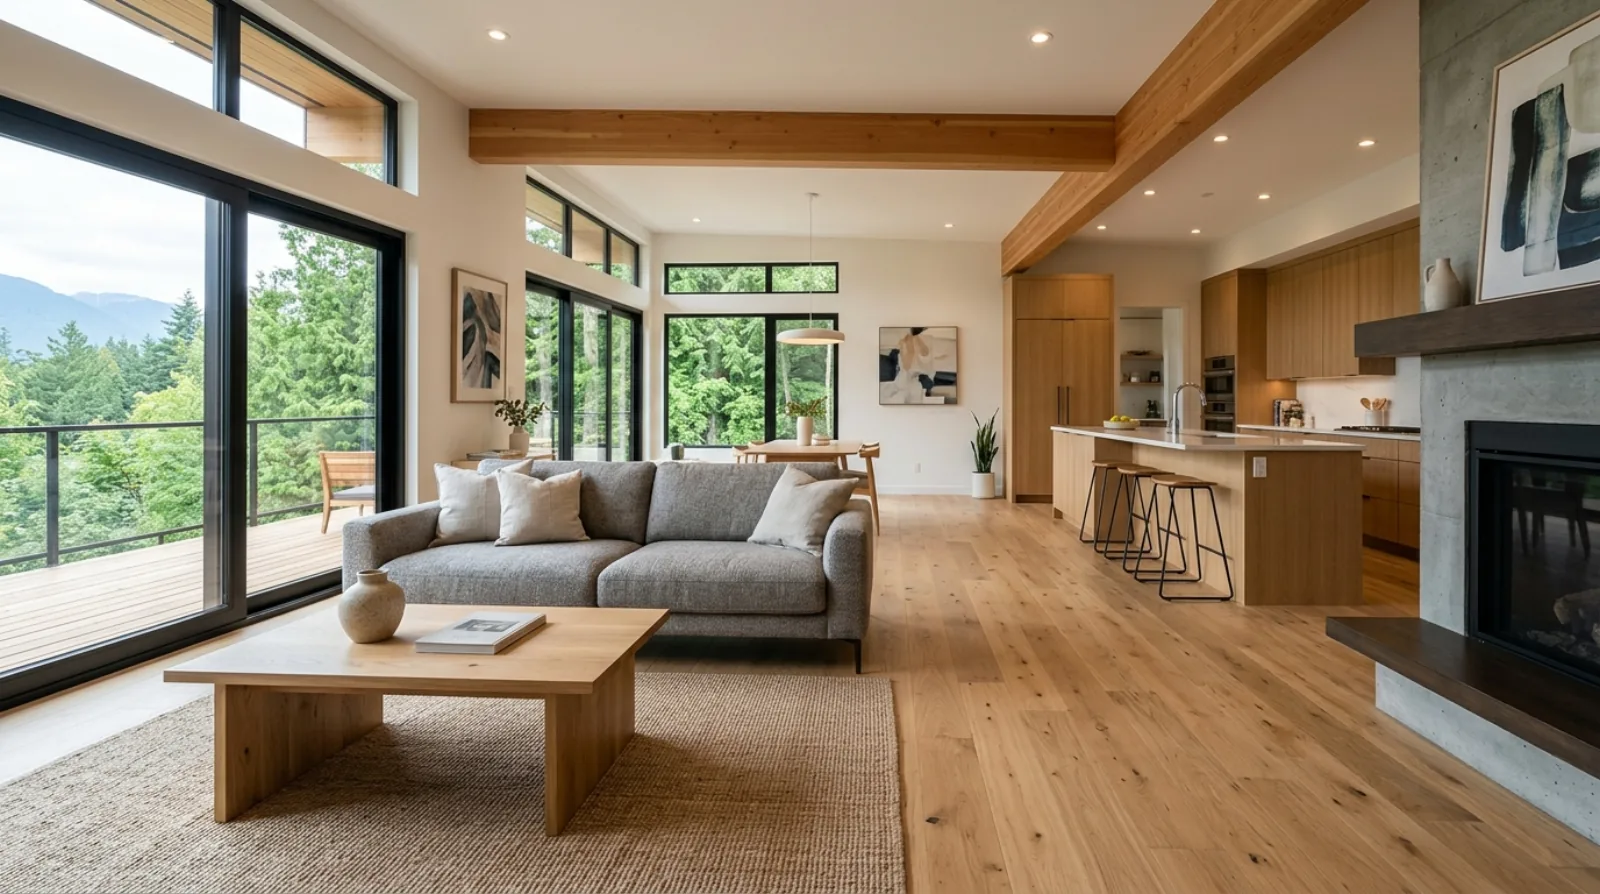
Once the drywall goes up, the bones of the house are hidden for the next thirty years. The pre-drywall walkthrough is the homeowner's last clean look at how their custom home was actually built.
On site with Sanj
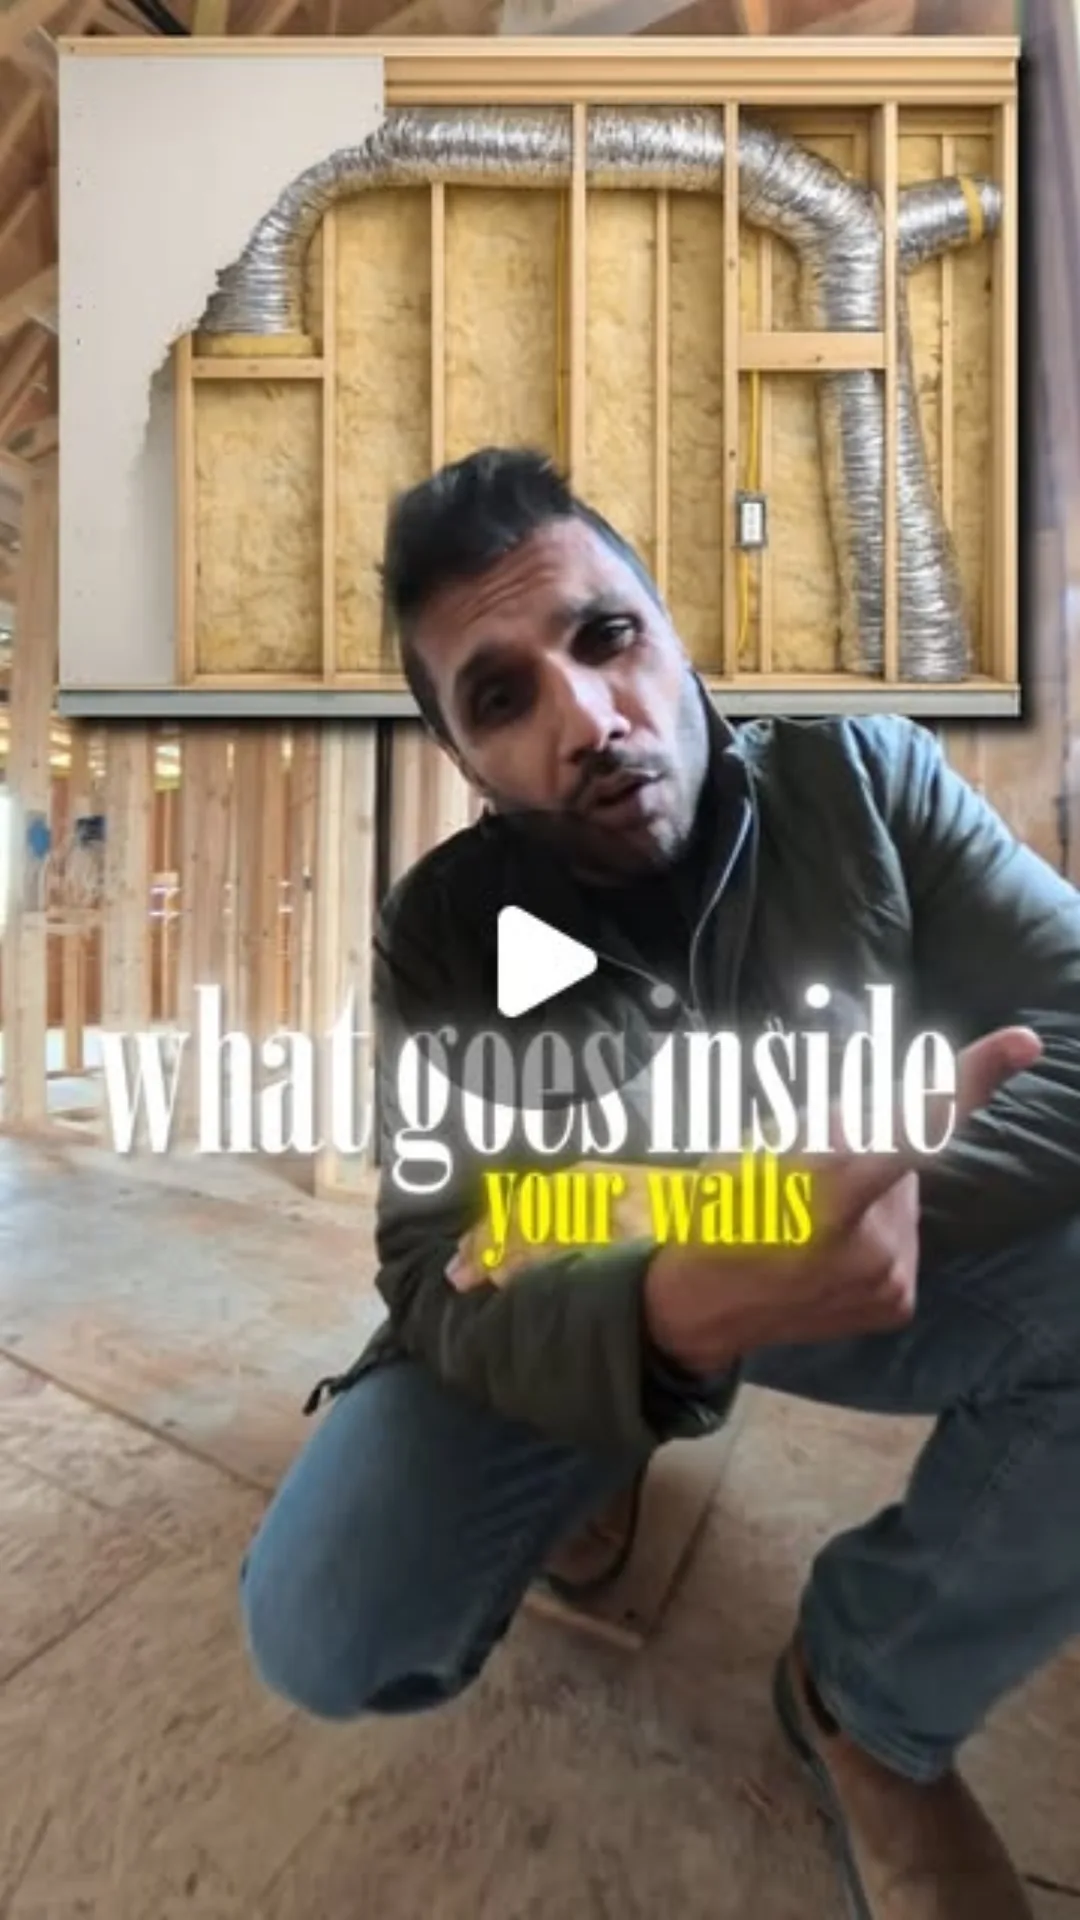
Nobody talks about this when you're buying a home — you'll see the finishes, but not what's behind them.
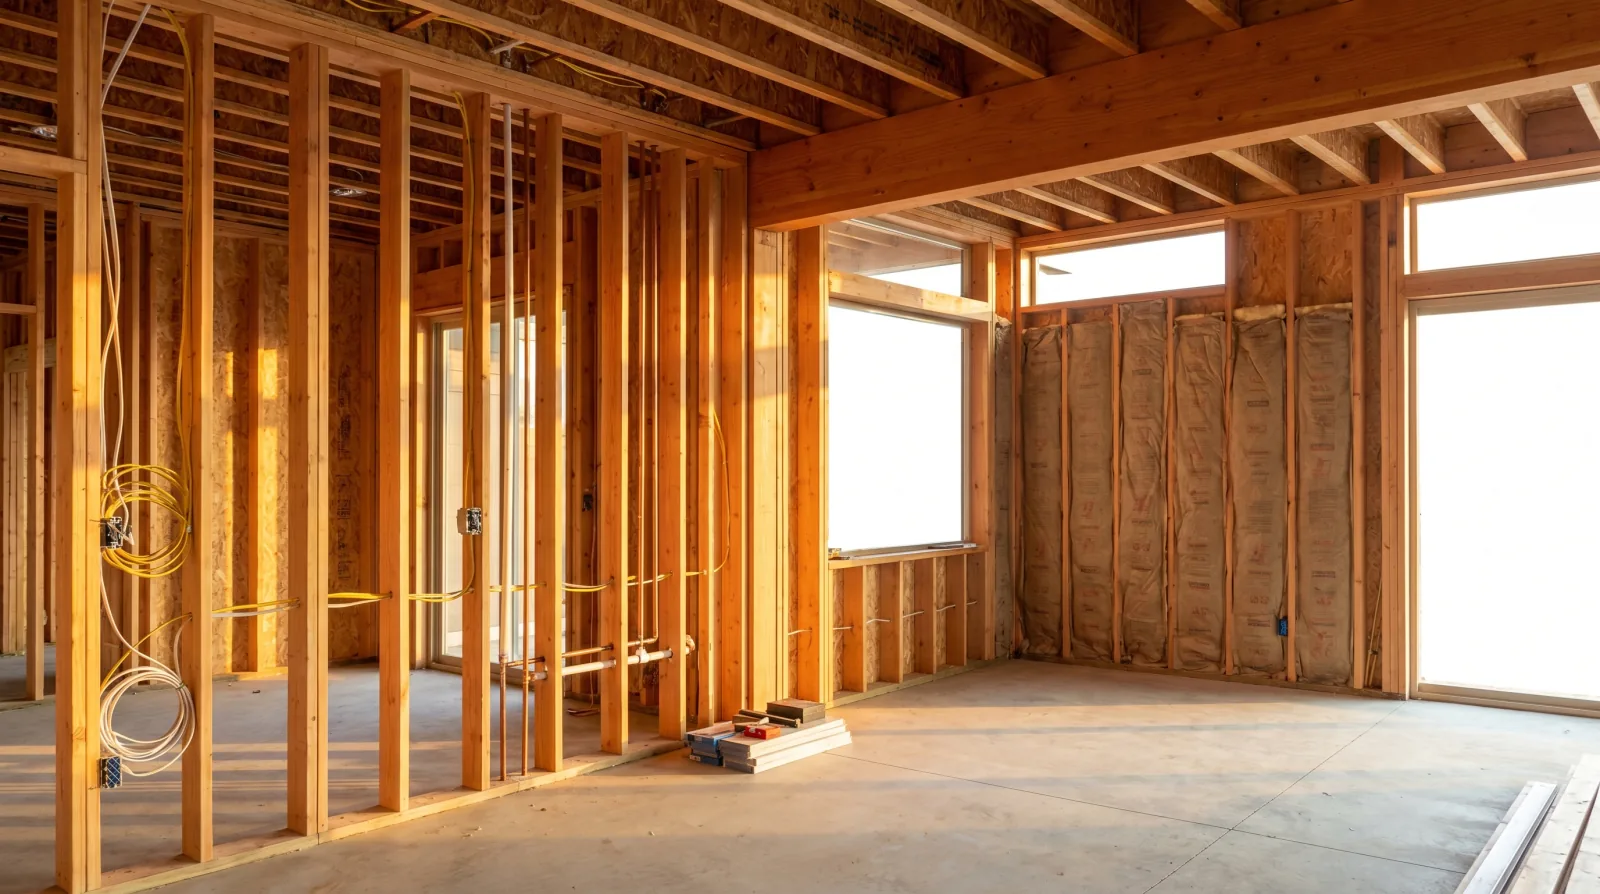
Open Reel on Instagram →The pre-drywall walkthrough is one of the most useful hours a homeowner will spend during their custom-home build. The framing is up. The mechanical, plumbing, and electrical rough-ins are complete. The insulation hasn't yet gone in, the air-barrier hasn't yet been closed up, and the drywall hasn't yet covered everything. For a few days, the entire interior of the home is visible — every wire, every pipe, every blocking detail. Once the drywall goes up, this view is gone for thirty years.
We schedule this walkthrough on every Burnaby, Vancouver, and Coquitlam custom home we build. Below is the protocol we use, the things we want the homeowner to see, and the questions worth asking.
Why this walkthrough matters
Three reasons. First, it's the last opportunity to verify that the home as-built matches the home as-designed. Plans get translated to construction by humans; small departures happen. The walkthrough catches them.
Second, it's the homeowner's chance to see and understand the bones of their house — what's a structural beam, what's a non-load-bearing partition, where the major plumbing runs, where the electrical home runs are. This knowledge becomes invaluable years later when they want to mount a TV or run a new circuit.
Third, it's a quality moment. A home that's been built with care looks different from a home that's been built to a deadline. Straight studs, clean cuts, neat wiring, organized plumbing — they're visible at this stage and tell you exactly what kind of work has been done behind the surfaces you'll see for the rest of your life.
The walkthrough usually happens after framing inspection and rough-in inspections are signed off (per the standard inspection sequence in the BC Building Code) and before insulation begins.
Framing — what to look for
Walk room by room with the framing drawings in hand. The things to verify:
- Stud spacing. Standard is 16" or 24" on centre depending on the wall. Visually, studs should be regular and straight.
- Headers and posts. Above every door and window, the header should be visible. Posts at structural points (beam supports) should be clearly identified — often with a marking from the structural engineer's site review.
- Beams. Engineered beams (LVL, glulam, steel) should be in the locations the structural drawings show. Sizes and depths should match.
- Blocking. Solid blocking between studs at heights where future hardware will mount — TVs, towel bars, grab bars in bathrooms (especially in any room intended to remain accessible), upper cabinets, pot rails. This is the moment to ask for blocking; once drywall is up, retrofitting blocking is destructive.
- Squareness. Door and window openings should read square. Doors that aren't plumb in the rough opening end up out of plumb in the finished house.
The homeowner's job here isn't to find structural problems — that's the framer, the structural engineer, and the building inspector. The job is to verify the layout matches the plan and to flag anything that looks visibly off.
Plumbing rough-in
The plumbing rough-in is the network of supply and drain lines visible in the walls before drywall. Walk every wet wall — kitchen, bathrooms, laundry, mechanical room — and verify:
- Fixture locations. Every plumbing rough is in the right wall, at the right height. The toilet drain is centered for the planned toilet. The shower mixer height is what was specified.
- Drain slope. Horizontal drain runs should slope toward the stack at the proper rate (typically 1:50 or 1:100). Visible pipe should look like it slopes; it shouldn't be flat or sagging.
- Material continuity. PEX, copper, or hybrid runs should be consistent with the spec. Mixing materials at this stage usually means a transition fitting that needs to be visible.
- Insulation on hot lines and on cold lines through unconditioned space. Hot water lines close to the surface (under cabinets, in floor cavities) should be insulated.
- Shutoffs. Every fixture group should have local shutoffs. The main water shutoff should be accessible and labelled.
The plumbing inspector will have already signed off on code compliance. The walkthrough is for design fidelity and craft.
Electrical rough-in
The electrical rough-in is where the homeowner's day-to-day experience of the home is shaped. Walk room by room with the electrical plan and verify:
- Outlet locations. Every outlet shown on the plan is roughed-in at the correct height. Counter outlets in kitchens are at the right spacing. Bedroom outlets are in usable locations relative to where furniture will go.
- Switch locations. Switches are on the latch side of doors where you expect them. Three-way switches at the top and bottom of stairs and at both ends of long hallways.
- Light fixture boxes. Every fixture location is roughed-in. Pendant locations over kitchen islands are precisely where the cabinet shop drawings put them — not approximately.
- Special circuits. Dedicated circuits for the EV charger, the heat pump, the kitchen appliances, the laundry. The panel schedule should match.
- Low-voltage. Network drops, security wiring, smart-home backbone, speaker wire. These are typically run by the electrician but to a separate plan.
- Smoke and CO alarms. Every required location is roughed-in per the BC Building Code: smoke alarms under Section 9.10.19 (interconnected, hardwired with battery backup, on every storey and outside every sleeping area) and CO alarms under Section 9.32.4.2 (required wherever there's a fuel-burning appliance or an attached garage; interconnection required in houses with secondary suites).
This is also the right moment to add anything the homeowner has thought of since the electrical plan was finalized. Adding outlets at this stage is cheap. Adding them after drywall is expensive.
The walkthrough is the moment to ask for the outlet, the switch, or the low-voltage drop you've been thinking about. It's the cheapest hour of your build to add something. After drywall, every change becomes an event.
— Icon Projects Team
HVAC and ventilation
The mechanical rough-in includes the heat pump's ductwork, the HRV's distribution network, and any direct-vent equipment. Walk the system and verify:
- Duct sizing. Trunks and branches look like the mechanical plan. No flat-crushed runs through floor systems.
- Supply and return registers. Every register location is roughed-in at the planned height and direction.
- HRV/ERV ducting. The fresh-air supplies go to bedrooms and main living areas. The exhausts come from kitchen, bathrooms, and laundry. The two networks are typically separate from the heat pump ductwork.
- Mechanical room. Adequate space for service, with room around equipment for filter changes and routine maintenance.
- Exterior penetrations. Every duct that exits the building (range hood, dryer, HRV intake/exhaust) goes through a properly flashed and weather-sealed wall penetration.
The mechanical contractor's job is to deliver airflow per the CSA F280-12 sizing calculation and the design. Commissioning happens later. The walkthrough is for layout, accessibility, and finish-detail integration.
Insulation prep — air-sealing details
The insulation crew arrives the day after the walkthrough. Before they do, the air-sealing details for the Step Code blower-door target need to be in place:
- Top plates of exterior walls sealed where they meet the ceiling membrane
- Bottom plates sealed where they meet the subfloor
- Penetrations at every point a wire, pipe, or duct passes through the air-control layer — sealed with appropriate gasket, foam, or mastic
- Window and door rough openings sealed full perimeter (this should already have been done by the framer when the windows were installed)
- Electrical boxes on exterior walls in airtight enclosures or sealed back-to-stud
A homeowner can spot many of these — a clearly sealed penetration looks different from a penetration with a hole around it. The blower-door test will quantify the result; the walkthrough is the visual check.
Exterior water and weather-resistant barriers
While the pre-drywall walkthrough focuses on the interior, the timing also creates a natural checkpoint for the exterior envelope — specifically the installation of the weather-resistive barrier (WRB) and the window and door integration into the air-control layer. In a Burnaby Step 3 + EL-4 home targeting 2.5 ACH50 — or a Step 5 home reaching for 1.0 ACH50 — these exterior details determine whether the blower-door test passes or fails.
Two things worth confirming before interior drywall starts, even if they require stepping outside:
WRB laps, terminations, and tape. The housewrap or self-adhered membrane is the drainage plane for the wall assembly. Every lap should be shingle-lapped (upper layer over lower), not reverse-lapped. Every seam should be taped or sealed with a compatible product from the same manufacturer — mixing tape brands from different systems creates adhesion problems. At every penetration (electrical conduit, hose bibs, gas lines), the WRB has to be cut, folded, and sealed so water that gets behind the cladding can't follow the penetration into the wall cavity.
Window and door rough-opening integration. The critical interface is where the window or door unit meets the WRB at the rough opening's sill, jambs, and head. In a properly detailed rough opening: the sill pan is sloped to drain, the jamb tapes lap over the sill pan, and the head flashing laps over the jamb tapes. The sequence matters because each layer has to drain over the one below it. A reverse-lapped rough opening is an invitation to long-term water infiltration that may not show up as a leak until year four or five, well past the early warranty period.
Your builder's site supervisor should be able to walk you through the exterior envelope the same day as the interior walkthrough. If the exterior details haven't been completed correctly before drywall starts, correcting them later involves removing cladding — which is disruptive and expensive. A fifteen-minute exterior walk at this stage is the cheapest envelope inspection the project will ever have.
Documentation for future renos
We photograph every wall and every ceiling cavity during the walkthrough — not for marketing, for the homeowner's records. Five years from now, when they want to add a closet light or run an HDMI to a new TV location, the photos show exactly what's behind the drywall. We deliver them as part of the project closeout package.
Some homeowners do their own photo walk through the house at this stage too, room by room with their phone. We encourage it. Time spent on this walkthrough pays back for the life of the home.
What happens next
After the walkthrough, the insulation crew arrives. Within a week or two, the air-control layer is closed and the drywall starts. From this point forward, every visible feature of the house is the result of careful, often final, decisions about finish.
If you're building with us and the pre-drywall walkthrough is on the calendar, your project manager will send a checklist a week ahead. If you're considering a builder for a Burnaby, Vancouver, or Coquitlam custom home and you want to know what their rough-in process looks like — that's a fair question to ask in any builder interview.
For the broader process conversation, our piece on the pre-construction services agreement covers what happens before the first wall goes up, and 12 questions to ask before signing a builder contract is the right read before choosing the team you'll do all of this with. When you're ready, reach out.
Related on the Journal