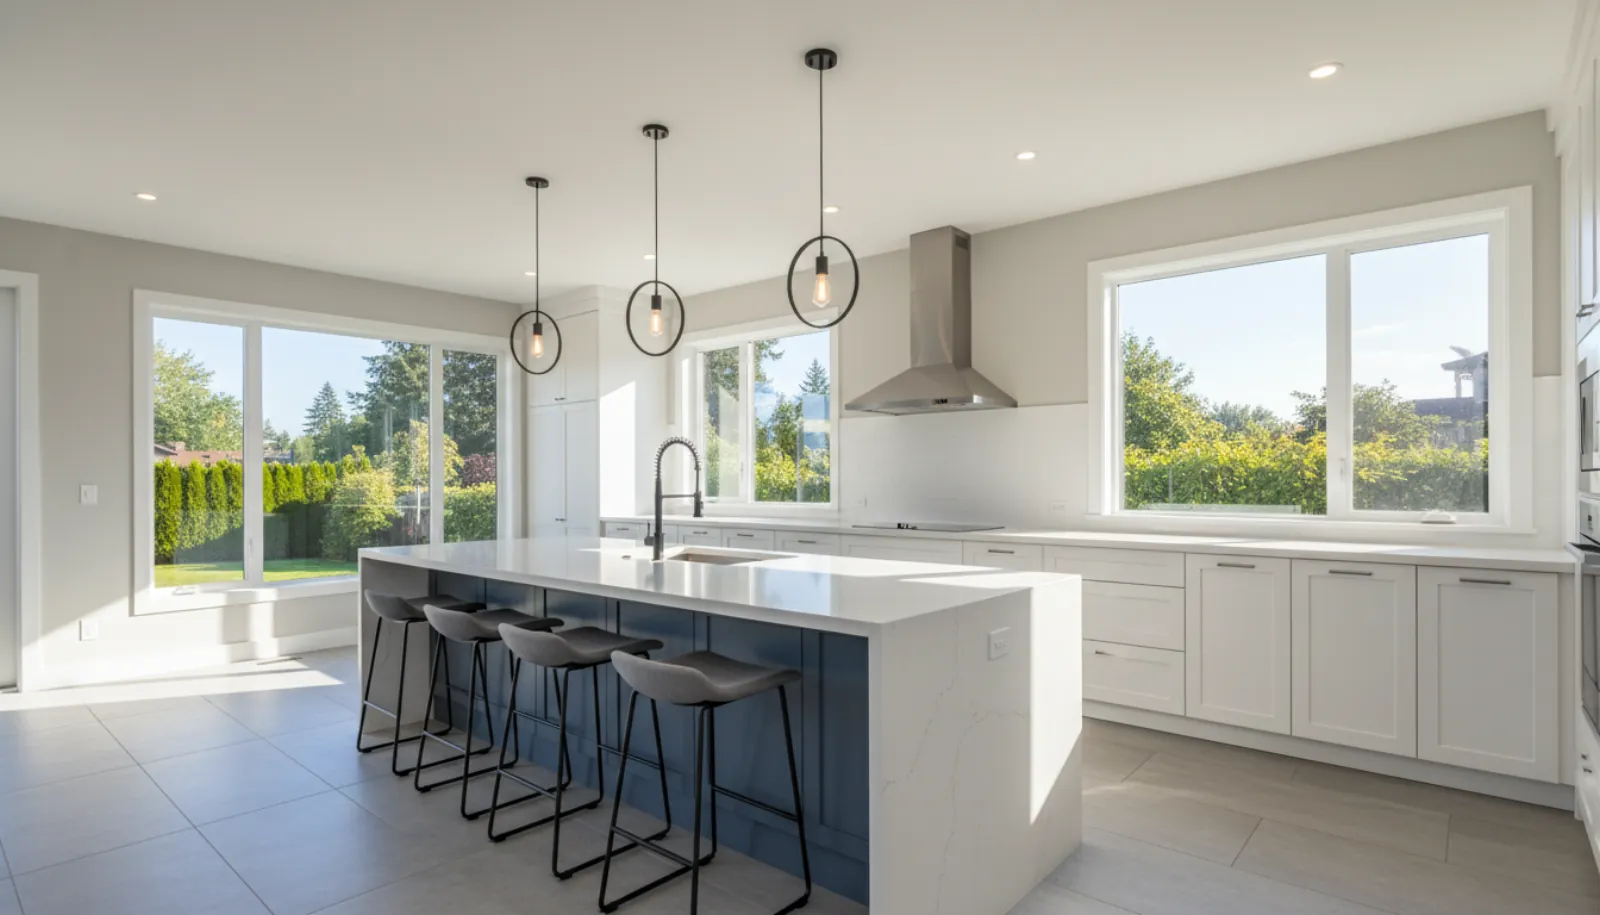
The island is the most used surface in many new kitchens: prep, homework, breakfast and the place guests stand. A good one is decided by the aisles around it, what it holds, and the plumbing, power and ducts that run into it through the floor. Here is how we plan islands on our Burnaby builds.
The island is the most used surface in many new kitchens. It is where food gets prepped, where homework gets done, where breakfast happens on school days, and where guests stand during a party.
Owners usually choose an island from a photo of one they like. We start from the space around it, then the island's job, then the services that run into it from below. This post covers each of those, and how we plan islands on our Burnaby builds. Our post on kitchen design covers the rest of the room.
Start with the aisles
The space around an island decides whether the kitchen works.
Three things need room:
- People passing. In a kitchen used by two cooks, both need to move between the island and the counters without stepping aside for each other.
- Appliance doors. A dishwasher door, an oven door or a fridge door opens into the aisle. When it is open, someone still needs to get past, or at least get out of the kitchen.
- Chairs. Seating at the island needs room behind it for a stool to be pulled out and for someone to walk behind a seated person.
We lay the island out on the floor plan with real appliance door sizes and real stool depths, then walk owners through it. On larger projects we mark the island on the subfloor with tape once the framing is up, so owners can stand in the space before cabinets are ordered.
A common mistake in plans is an island sized to fill the room. A big island in a tight space leaves aisles where two people cannot pass and appliance doors that block the walkway. A smaller island with good aisles works better every day.
Decide what the island does
The island's job shapes everything else.
A prep island holds the sink, the dishwasher and the main prep counter. The cook faces the room while working. The cooktop stays on the wall behind, under a wall hood. We often suggest this layout, because a wall hood over a wall cooktop captures smoke and steam better than an island hood.
A cooking island holds the cooktop. It needs a ceiling hood or a downdraft unit and a duct route through the ceiling or the floor. It puts heat and splatter close to anyone sitting at the island, so seating goes at the far end or on a raised ledge. Our post on induction and gas cooktops and our post on range hoods and makeup air cover the cooktop and hood.
A gathering island holds seating, serving space and storage, with nothing that splashes. It suits a kitchen where the work happens along the walls or in a scullery. Our post on pantries and sculleries covers the back kitchen.
Two islands. In a larger kitchen, two islands often work better than one oversized one. One holds the work: sink, dishwasher and prep space. The other holds seating and serving. Guests gather at the second island and stay out of the cook's way.
An island looks like furniture at the end of a build. At the start, it is planned like a small building, with its own drain, power and ducts coming up through the floor.
Icon Projects Team
Size and the countertop
An oversized island has two practical limits.
Reach. A person standing on one side should be able to reach the middle to wipe it down and to pass food across. Deep islands become hard to clean in the middle.
The stone. Quartz, porcelain and natural stone come in slabs of fixed size. An island longer or deeper than the slab needs a seam. We check slab sizes with the fabricator before the island size is final, so any seam lands in a planned place, such as at the sink. Our post on countertops covers the materials, and our post on quartz and natural stone covers how they wear.
The overhang for seating has its own limit. A deep overhang gives knees more room, and stone overhangs beyond a certain depth need hidden steel supports. The fabricator tells us when supports are needed for the stone and thickness chosen.
Seating that works
Seating at the island is used every day in most homes, so we plan it as carefully as the work side:
- Counter height or a raised ledge. Counter-height seating uses the same surface as the prep side. A raised bar ledge hides the mess from the seated side but splits the surface.
- Knee room. The overhang depth and the stool height have to match, so knees fit under the counter.
- Seat spacing. Each seat needs its own width along the counter, so people are not shoulder to shoulder.
- Seating on the end. A seat or two on the end of the island lets people face each other, which suits families who eat at the island.
The services under the island
Every service in an island comes up through the floor. This is the part that has to be decided earliest.
The sink. A sink needs a drain, a vent and hot and cold water. A sink on an island has no wall behind it for a normal vent pipe, so the plumbing designer uses one of the venting methods the BC Plumbing Code allows for island fixtures. The method is set at rough-in and checked at the plumbing inspection. Our post on the plumbing rough-in explains why fixture locations lock at that stage.
Power. The counter needs outlets for small appliances, and the island may hold a dishwasher, a microwave drawer, a wine fridge or an induction cooktop. Each needs its circuit and its box in the right place in the cabinet. The electrician works from the cabinet drawings, and we confirm the box locations before drywall.
A cooktop. An island cooktop needs its electrical circuit, or a gas line under the performance path, plus a hood and duct.
Data and charging. Some owners want a charging drawer or a pop-up outlet in the counter. Those need their box and wire placed at rough-in.
On a slab, all of these lines are set in place before the concrete is poured. Moving the island after the pour means cutting the slab. On a wood floor, the drain, water and wiring run between the joists. A drain needs slope, so the joist direction and depth decide where the island sink can go. We set the island location before the joist layout is finalized. Our post on engineered lumber covers what can and cannot be cut through floor joists.
Light over the island
The island needs its own light, separate from the general light in the room.
Pendants are the usual choice. They light the counter and give the island its look. We centre them on the island, space them evenly along its length, and hang them high enough that people standing at the island can see across the room under them. The junction boxes for pendants go in the ceiling at framing, so the island position and length have to be fixed by then.
Recessed lights around the island light the aisles and the work surface where pendants leave shadows. We place them over the front edge of the counters, so the cook does not stand in their own shadow.
Controls. The pendants and the recessed lights go on separate switches or dimmers, so the island can be bright for cooking and dim for dinner. Our post on lighting design covers layers and controls.
With an island cooktop and a ceiling hood, the hood takes the centre of the ceiling above the island, and the pendants move to the seating end.
Storage and finish
An island is often the best storage in the kitchen, because it is reachable from both sides:
- deep drawers for pots on the cook's side,
- a waste and recycling pull-out next to the sink, which our post on waste and recycling storage covers in detail,
- shallow cabinets or shelves on the seating side for cookbooks or serving dishes.
The island is also where owners often choose a different cabinet colour or material from the rest of the kitchen. That works well, because the island reads as its own piece in the room. Our post on cabinetry quality covers how cabinets are built.
How we plan an island on a Burnaby build
- Draw the aisles first with real appliance doors and stool sizes.
- Give the island a job: prep, cooking, gathering, or two islands.
- Check slab sizes so any seam lands where we choose.
- Fix the services before the slab pour or the joist layout.
- Confirm boxes and lines from the cabinet drawings before drywall.
- Template the stone after the cabinets are installed.
The island is planned long before it is built. Our custom homes service page shows how we plan kitchens on builds in Burnaby, Coquitlam and across the Lower Mainland.
Frequently asked questions
- How much space do you need around a kitchen island?
- Enough for two people to pass, for appliance doors to open without blocking the walkway, and for a chair to be pulled out behind any seating. We lay the island out on the plan with the real appliance door sizes and stool depths, and walk the space with owners before cabinets are ordered. A busy kitchen with two cooks needs more than a kitchen used by one.
- Should the sink or the cooktop go on the island?
- Either can work. A sink on the island lets the cook face the room while prepping and washing, and keeps the cooktop on the wall under a wall hood that captures better. A cooktop on the island needs a ceiling hood or a downdraft and a duct route through the ceiling or floor, and it puts heat and splatter near the seating.
- Is one large island or two islands better?
- In larger kitchens, two islands often work better than one oversized one. One holds the work (sink, prep space, dishwasher) and the other holds seating and serving. One oversized island can be hard to reach across and may need a seam in the stone.
- What services have to be planned under an island?
- Any sink needs a drain and a vent, plus hot and cold water. Any appliance needs power, and the counter needs outlets. An island cooktop needs its circuit or gas line and a hood duct. On a slab these lines are set before the concrete is poured; on a wood floor they run between joists that must be laid out to allow them.
- How is a sink on an island vented?
- A sink on an island has no wall behind it for a normal vent pipe, so the plumbing designer uses one of the venting methods the plumbing code allows for island fixtures. The method is chosen at rough-in and checked at the plumbing inspection, which is why the island sink location has to be fixed before the plumbing rough-in starts.
- Can a kitchen island have seating on two sides?
- Yes, if the island is large enough and the aisles allow chairs to pull out on both sides. Seating on the end of an island gives a more social layout, where people face each other. We check stool and chair sizes against the counter overhang so knees fit under the counter.