Sheen by room, low-VOC in an airtight Step Code house, Level 4 vs Level 5 drywall, and why Burnaby's flat grey winter light never matches the sample chip. The last finish the trades fight over before we hand you the keys.
What paint sheen should you use in each room of a custom home?
The short version: flat or matte on most ceilings and low-traffic walls, eggshell for living areas and bedrooms, satin in kitchens, hallways and kids' rooms, and semi-gloss on trim, doors, and bathroom ceilings that take steam. Sheen isn't a style choice you make once for the whole house, it's a durability and light decision you make room by room. The flatter the finish, the better it hides wall imperfections and the worse it stands up to scrubbing. The glossier it gets, the tougher and more washable it is, and the more it advertises every ripple in the drywall behind it.
That trade-off is the whole game. A flat ceiling in a Brentwood great room reads calm and unbroken because flat paint scatters light instead of bouncing it back at you. Put that same flat on a hallway wall where shoulders and dog tails brush past, and you'll be touching it up by year two. So we move up the sheen ladder exactly as far as the room's wear demands and no further.
Here's how we typically spec a Burnaby custom home:
- Ceilings, flat, almost always. The exception is a bathroom or laundry ceiling, where we'll go up to an eggshell or satin so moisture wipes off instead of soaking in.
- Living, dining, bedrooms, matte or eggshell. Eggshell cleans up better than a true matte, which matters with kids.
- Hallways, stairwells, mudrooms, kitchens, satin. High touch, high traffic, needs to take a wipe.
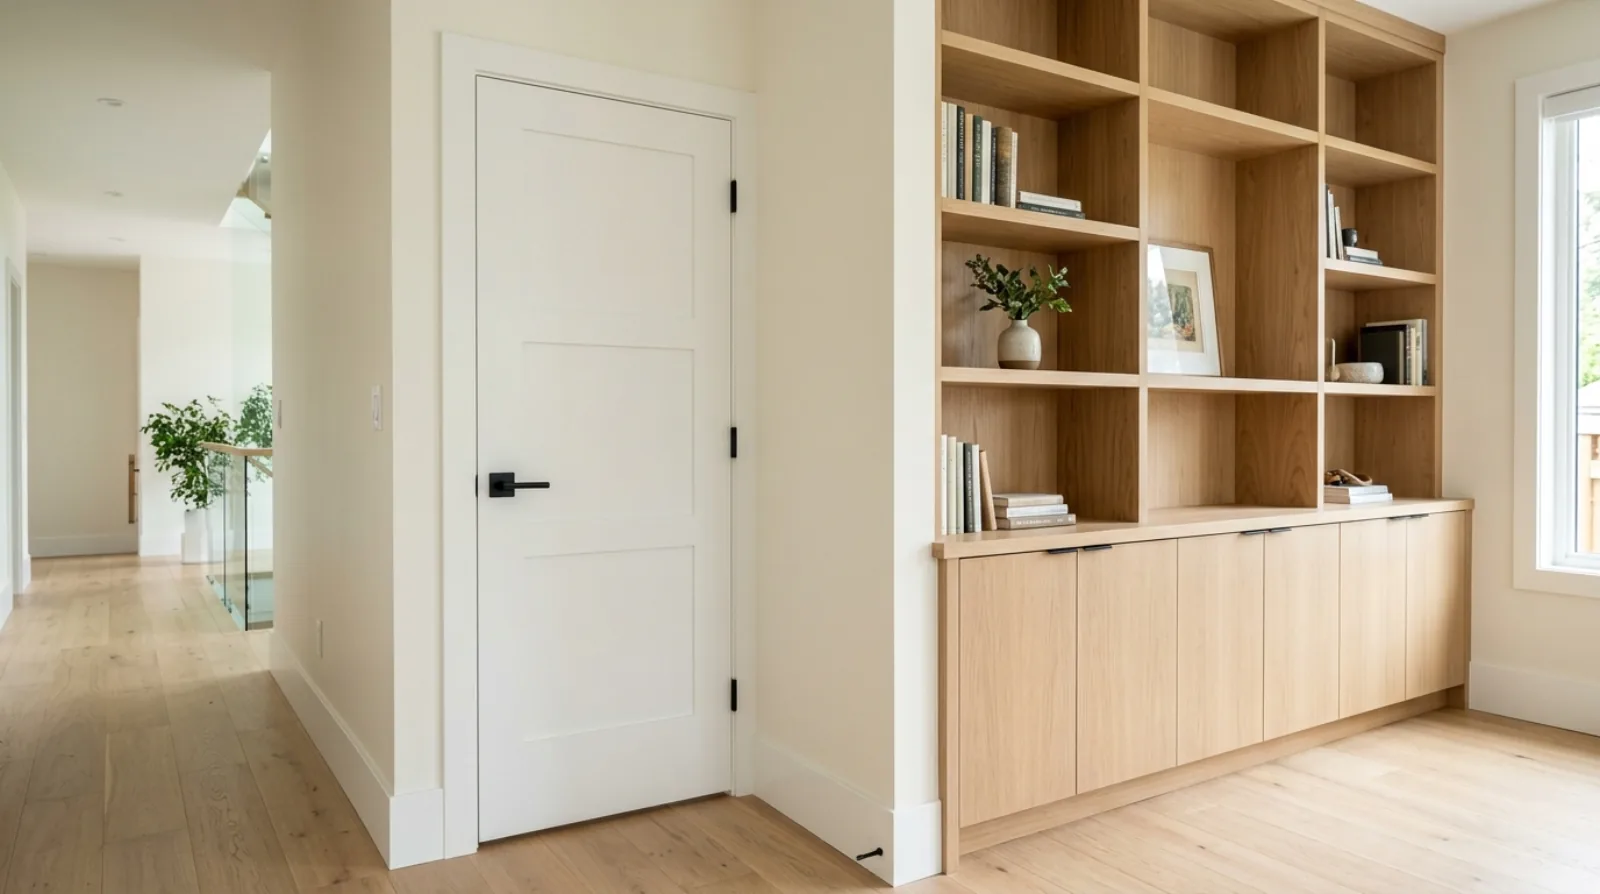
- Trim, baseboards, doors, window casings, semi-gloss or a hard pearl. The contrast in sheen against an eggshell wall is part of what makes good millwork read as crisp.
- Bathrooms, satin on walls, semi-gloss on the ceiling, and a moisture-rated product throughout.
We talk about how sheen interacts with the woodwork in more detail in our piece on interior doors, trim, and millwork, the wall finish and the trim finish are decisions you make together, not separately.
Why low-VOC paint matters more in an airtight Step Code house
Every new home in Burnaby is built to a tighter envelope than the houses around it. Burnaby adopted Step 3 plus EL-4 of the Zero Carbon Step Code effective January 1, 2025, which means your new house is tested with a blower door and has to hit a real airtightness target. A Step 3 build comes in around 2.5 air changes per hour at 50 pascals, and that number keeps dropping as the province moves toward Step 5 as the default for new construction by 2032.
Here's why that changes how we think about paint. An old leaky house breathed through its gaps, anything that off-gassed from a fresh coat of paint diluted itself out the cracks within a few days. A tight house doesn't breathe that way. The only fresh air it gets is what the heat recovery ventilator (HRV) brings in, sized to CSA F326, the residential mechanical ventilation standard. That's a controlled trickle, not a draft. So whatever you put on the walls and trim lives in the air longer.
Volatile organic compounds, the solvents that make paint flow and dry, are what you smell in a freshly painted room. In a sealed, well-insulated house, we don't want a high-VOC product loading up the indoor air the HRV then has to chase out for weeks.
In a leaky old house, paint fumes were a weekend problem. In an airtight Burnaby build, they're a system problem, the HRV is the only thing clearing them, so we don't make its job harder than it needs to be.
Icon Projects Team
So we spec low- or zero-VOC paint as the default on every custom home, not as an upgrade. The performance gap between premium low-VOC lines and old solvent-heavy paint has basically closed, coverage, washability, and colour depth are all there. There's no durability reason to reach for the high-VOC product anymore, and in a tight house there's a real air-quality reason not to. If you want the longer view on how a sealed envelope and good ventilation work together, we get into it in the healthy-home piece on radon and ventilation.
Level 4 vs Level 5 drywall: where smooth-wall is worth it
Paint is only as good as the wall under it, and the wall is only as good as the drywall finish. The industry rates drywall finishing in levels. For a custom home, the conversation is really between two of them:
- Level 4, tape and three coats of compound over the joints, screws, and corners, sanded smooth. The field of the board itself is left as-is. This is the standard finish for a quality home and it looks excellent under most conditions.
- Level 5, everything in Level 4, plus a thin skim coat of compound over the entire wall surface, so the whole plane is uniform. This is what people mean by "smooth wall."
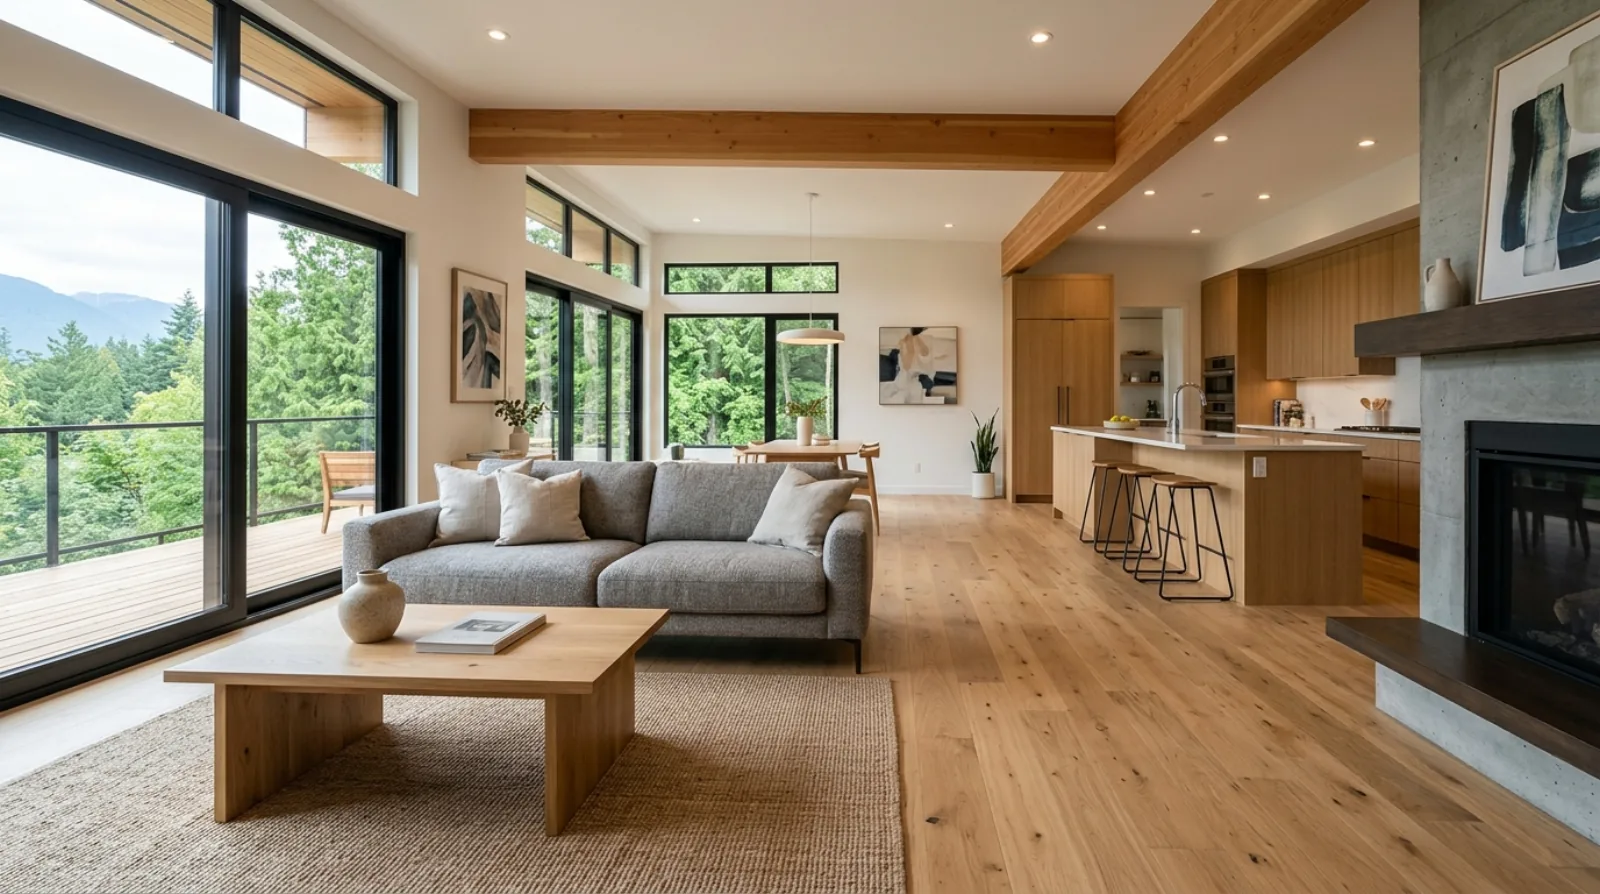
The difference is invisible most of the time. It becomes visible under a specific condition: raking light. When the sun comes in low and shallow across a wall, through a big west window in a Capitol Hill living room on a winter afternoon, or down a hallway lit by a single fixture at night, it casts tiny shadows off every joint, every fastener dimple, every slight difference in suction between the bare paper of the board and the compound over the joints. A Level 4 wall can show that "joint banding" or "photographing" under those conditions even when the prep was perfect.
So the question isn't "is Level 5 better." It's "does this wall live under raking light." We tell clients to spend the smooth-wall premium where the answer is yes:
- Long uninterrupted walls facing big windows
- Double-height stairwell and entry walls grazed by a single light source
- Any wall finished in a sheen above eggshell, since gloss amplifies every defect
- Feature walls you're going to stare at
And we tell them a well-done Level 4 is honest, correct work everywhere else, bedrooms, walls broken up by furniture and art, anything that doesn't catch a low sun. Paying for Level 5 on every wall in the house is money spent where no one will ever see the return. Spending nothing extra and putting a satin on a raking-light wall is how you end up disappointed on move-in day. This is the same logic we apply to finishes across the board, and it's why we wrote why we don't believe in builder-grade, the goal is to put the quality where it shows, not to spread it thin everywhere or cheap it out everywhere.
Why Burnaby's winter light changes the colour on the chip
This is the one that surprises people most. The colour you pick in our office in June is not the colour you'll live with in December, and the reason is the light itself.
Greater Vancouver runs a high-rainfall coastal climate, and a lot of our daylight from November through February is flat, overcast, and cool-toned. Overcast light has a blue-grey cast to it. That cool light pulls the undertones in paint sideways, a warm white can read faintly green or grey, a soft grey can go cold and clinical, and a beige you liked in summer can turn muddy. Add to that the artificial light you'll layer in, which is its own variable; we get into fixture colour temperature in the lighting design piece, and the lamp you choose shifts the wall colour again.
A two-inch chip held up in a bright showroom tells you almost nothing about how a colour behaves on a 12-foot wall in your actual house in your actual light.
So our process is simple and we don't skip it. We paint large sample boards, at least a couple of square feet, with two coats of the real product, and we put them up on the walls being considered. North-facing walls, south-facing walls, the dark end of a hallway. Then we make clients live with them for a few days and look at them in morning light, afternoon light, and under their evening fixtures. Colours that looked identical on the chip pull apart completely on the wall. We'd rather spend a week sampling than repaint a great room because the warm white went green in the first grey week of December. The same daylight realities drive a lot of our design thinking, we cover the bigger picture in daylighting a Burnaby custom home.
Primer, coats, and the order things happen
A good paint job is mostly the part you can't see once it's done. Bare drywall and joint compound have different porosity, the paper face drinks paint differently than the smooth compound over the joints. Skip the primer and you'll see that difference telegraph through the topcoat as uneven sheen, the same "flashing" that gives away a rushed job.
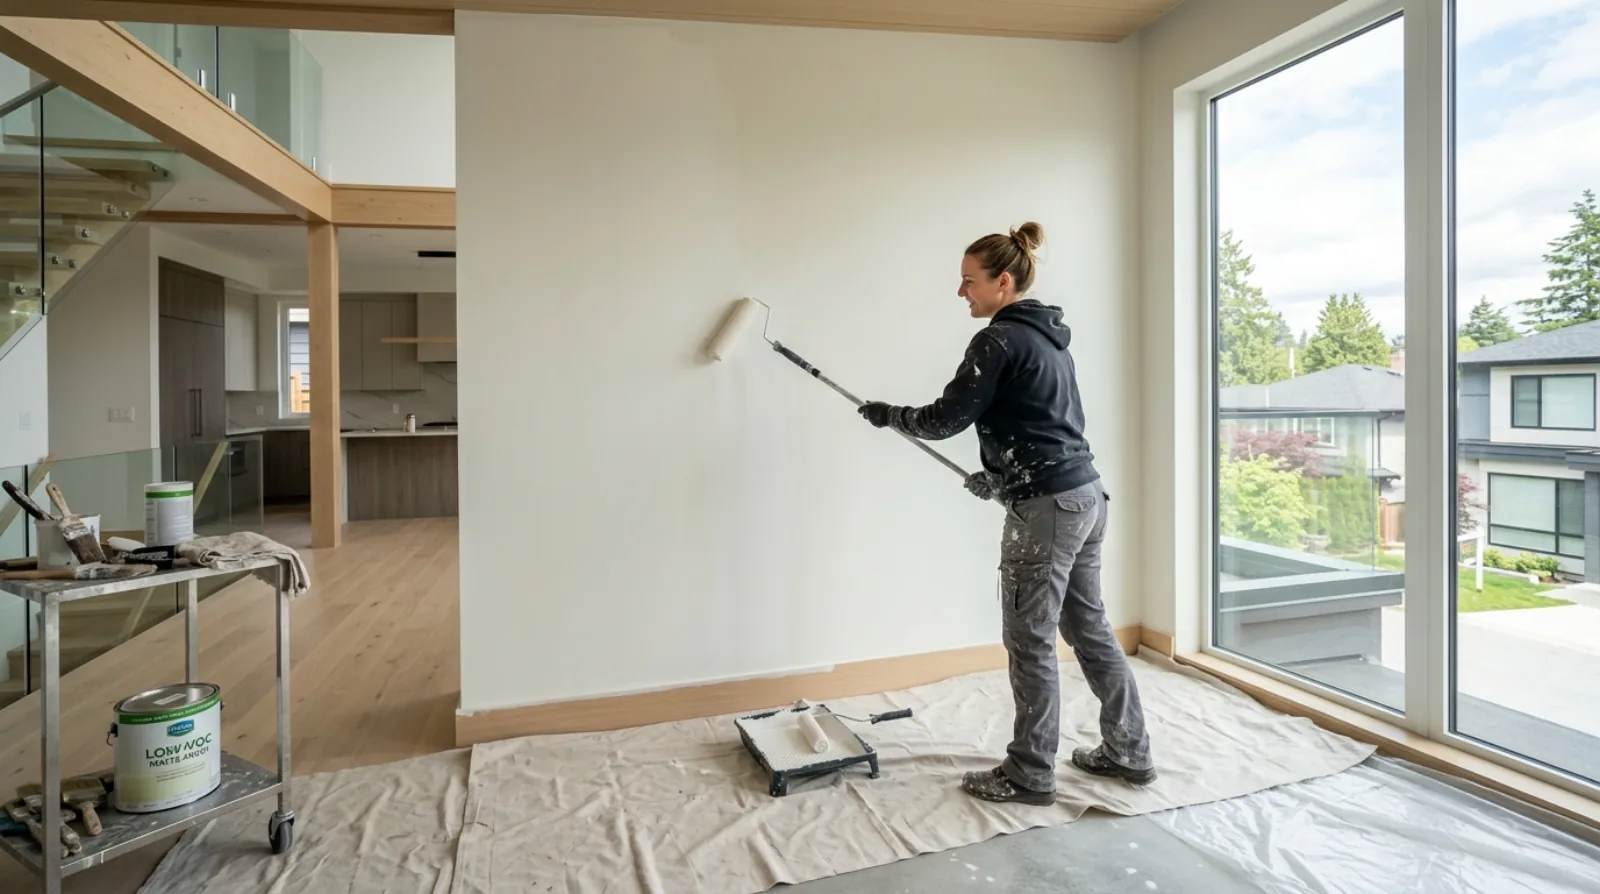
So on new drywall the sequence is: a dedicated drywall primer-sealer first to even out the suction across the whole surface, then two finish coats. Trim and millwork get their own primer suited to the material, MDF, finger-jointed pine, and solid wood all behave differently, then two coats of the trim product. Cutting corners on coats is the most common way a builder makes a fresh house look tired within a year; thin coverage shows wear fast and touches up badly.
Timing matters too. Paint is one of the last wet trades in the house, and it doesn't happen all at once. We prime and do first coats before flooring goes in, then come back for final coats and touch-ups after the floors, cabinets, and trim are installed and the other trades have stopped bumping into freshly painted surfaces.
Paint is the last thing the trades fight over before handover
Here's a thing every builder knows and most homeowners don't: paint is where the whole job comes to settle accounts. It's the last finish to go on, which means it covers, literally, for everyone who came before. The drywaller's joints, the framer's proud stud, the trim carpenter's caulk lines, the electrician's patched-in box. All of it lives or dies under that final coat.
So the painter is the trade that inherits everyone else's tolerances, and the one who gets blamed for problems that aren't theirs. A wavy wall isn't a paint problem, it's a framing or drywall problem the paint can't fix. A caulk line that cracks isn't a paint failure, it's movement. Part of our job as the general contractor is to make sure the wall is actually ready before the painter touches it, and to referee who owns what at the deficiency walkthrough, because "the paint looks off here" almost always traces back to a step further upstream. We run a formal version of this before drywall even goes up, which we describe in the pre-drywall walkthrough, and again at the pre-occupancy deficiency walkthrough.
What the warranty covers when paint and drywall crack
Some cracking in the first year isn't a defect, it's the house finding its rest. New framing lumber gives up moisture and shrinks, the structure settles onto its footings, and the seasons swing the indoor humidity around. The most common result is a fine crack at a drywall joint or a hairline gap opening where trim meets wall. This is normal settlement, and almost every new home does some of it.
The 2-5-10 home warranty every licensed BC builder carries reflects that reality. Paint and drywall fall under the first tier, 12 months of coverage on materials and labour. That window exists precisely to catch the first season of settlement cracks and finish defects. Warranty providers lean on the BC Housing Residential Construction Performance Guide to sort what's a coverable defect from what's normal behaviour, it's the document they actually use to judge a claim. Hairline settlement cracking within the first year typically gets a one-time repair near the end of that window, once the house has done most of its moving and the fix will hold.
The practical move for an owner: keep a running list through year one and don't chase every hairline the week it appears. Let the house settle, then have us come back near the 12-month mark and address the whole list at once, repaint included. Chasing cracks one at a time in month three just means repainting the same spot in month ten. We lay out the rest of the first-year rhythm in our guide to custom home maintenance in the first year.
Frequently asked questions
Should the whole house be the same sheen for a consistent look? No. Use flat or matte on ceilings and low-traffic walls, eggshell in living areas and bedrooms, satin in high-touch spaces like kitchens and hallways, and semi-gloss on trim and doors. Sheen is a durability and light decision per room, a single sheen throughout either won't clean up where it needs to or will show every flaw where it doesn't.
Is low-VOC paint actually as durable as regular paint? Yes. The performance gap closed years ago, premium low-VOC lines match older solvent-heavy paints on coverage, washability, and colour depth. In an airtight Burnaby home where the HRV is the only thing clearing the air, there's a real indoor-air-quality reason to use it and no durability reason not to.
Do I need Level 5 smooth-wall drywall on my whole house? Almost never. Spend the smooth-wall premium on walls that live under raking light, long walls facing big windows, double-height stairwells, anything finished above eggshell. A properly done Level 4 finish is correct, quality work everywhere else, and paying for Level 5 throughout spends money where no one will see the difference.
Are the cracks that appear in my first winter a warranty problem? Usually they're normal settlement, not a defect, new lumber shrinks and the house settles. Paint and drywall carry 12 months of materials-and-labour coverage under the 2-5-10 warranty, and providers use the BC Housing Performance Guide to judge what's coverable. The standard approach is one repair near the end of the first year, after the house has done most of its moving.
Related on the Journal
- Interior doors, trim, and millwork in a Burnaby custom home
- Why we don't believe in builder-grade
- Daylighting a Burnaby custom home
- Custom home maintenance in the first year
Frequently asked questions
- Should the whole house have the same paint sheen for consistency?
- No. Use flat or matte on ceilings and low-traffic walls, eggshell in living areas and bedrooms, satin in high-touch spaces like kitchens and hallways, and semi-gloss on trim and doors. Sheen is a durability and light decision made per room, a single sheen throughout either will not clean up where it needs to or will show every flaw where it should not.
- Is low-VOC paint as durable as regular paint?
- Yes. The performance gap closed years ago, premium low-VOC lines match older solvent-heavy paints on coverage, washability, and colour depth. In an airtight Burnaby home where the HRV is the only thing clearing the air, there is a real indoor-air-quality reason to use low-VOC paint and no durability reason not to.
- Are the cracks that appear in my first Burnaby winter a warranty problem?
- Usually they are normal settlement, not a defect. New lumber shrinks and the house settles. Paint and drywall carry 12 months of materials-and-labour coverage under the 2-5-10 warranty, and providers use the BC Housing Performance Guide to judge what is coverable. The standard approach is one repair near the end of the first year, after the house has done most of its moving.
- What is the difference between Level 4 and Level 5 drywall finish?
- Level 4 drywall is tape and three coats of compound over the joints, screws, and corners, sanded smooth, with the field of the board left as-is, and it is the standard, quality finish for most walls. Level 5 adds a thin skim coat of compound over the entire wall surface so the whole plane is uniform, which is what people mean by smooth wall. The two look nearly identical most of the time and only diverge under raking light, so Icon Projects specs Level 5 selectively rather than across every wall.
- Why does raking light matter when choosing between Level 4 and Level 5 drywall?
- Raking light is sunlight or a fixture hitting a wall at a low, shallow angle, and it casts tiny shadows off every joint, fastener dimple, and slight texture difference in the drywall compound. A Level 4 wall can show that joint banding under a big west window on a winter afternoon even when the prep work was flawless. Icon Projects reserves the Level 5 smooth-wall premium for long uninterrupted walls facing big windows, double-height stairwells, and any wall finished above eggshell, where a gloss sheen would amplify the same flaws.
- Why does Burnaby's winter light change how a paint colour looks?
- Greater Vancouver is a high-rainfall coastal climate, and daylight from November through February is flat, overcast, and cool-toned with a blue-grey cast. That cool light pulls paint undertones sideways, so a warm white can read faintly green and a beige that looked good in summer can turn muddy. Icon Projects paints large sample boards and has clients live with them on north- and south-facing walls for a few days before ordering, because a small chip in a bright showroom does not predict how a colour behaves on a 12-foot wall in December.
- Why does an airtight Burnaby home need low-VOC paint specifically?
- Burnaby homes are built to Step 3 plus EL-4 of the Zero Carbon Step Code as of January 1, 2025, which means the house only gets fresh air through the heat-recovery ventilator, not through leaks in the walls. An old leaky house diluted paint fumes out through its gaps within days, but a tight house has no such escape route, so whatever is applied to the walls stays in the indoor air longer. Icon Projects specs low- or zero-VOC paint as the default on every custom home for that reason.
- What is the correct order for priming and painting new drywall?
- New drywall gets a dedicated drywall primer-sealer first, because bare drywall paper and the joint compound over the seams absorb paint differently, and skipping the primer lets that difference telegraph through the topcoat as uneven sheen. After the primer, two finish coats go on. Trim and millwork get their own primer suited to the material, since MDF, finger-jointed pine, and solid wood all behave differently, followed by two coats of the trim product. Icon Projects also times the final coats after flooring, cabinets, and trim are installed so other trades are not bumping into freshly painted surfaces.