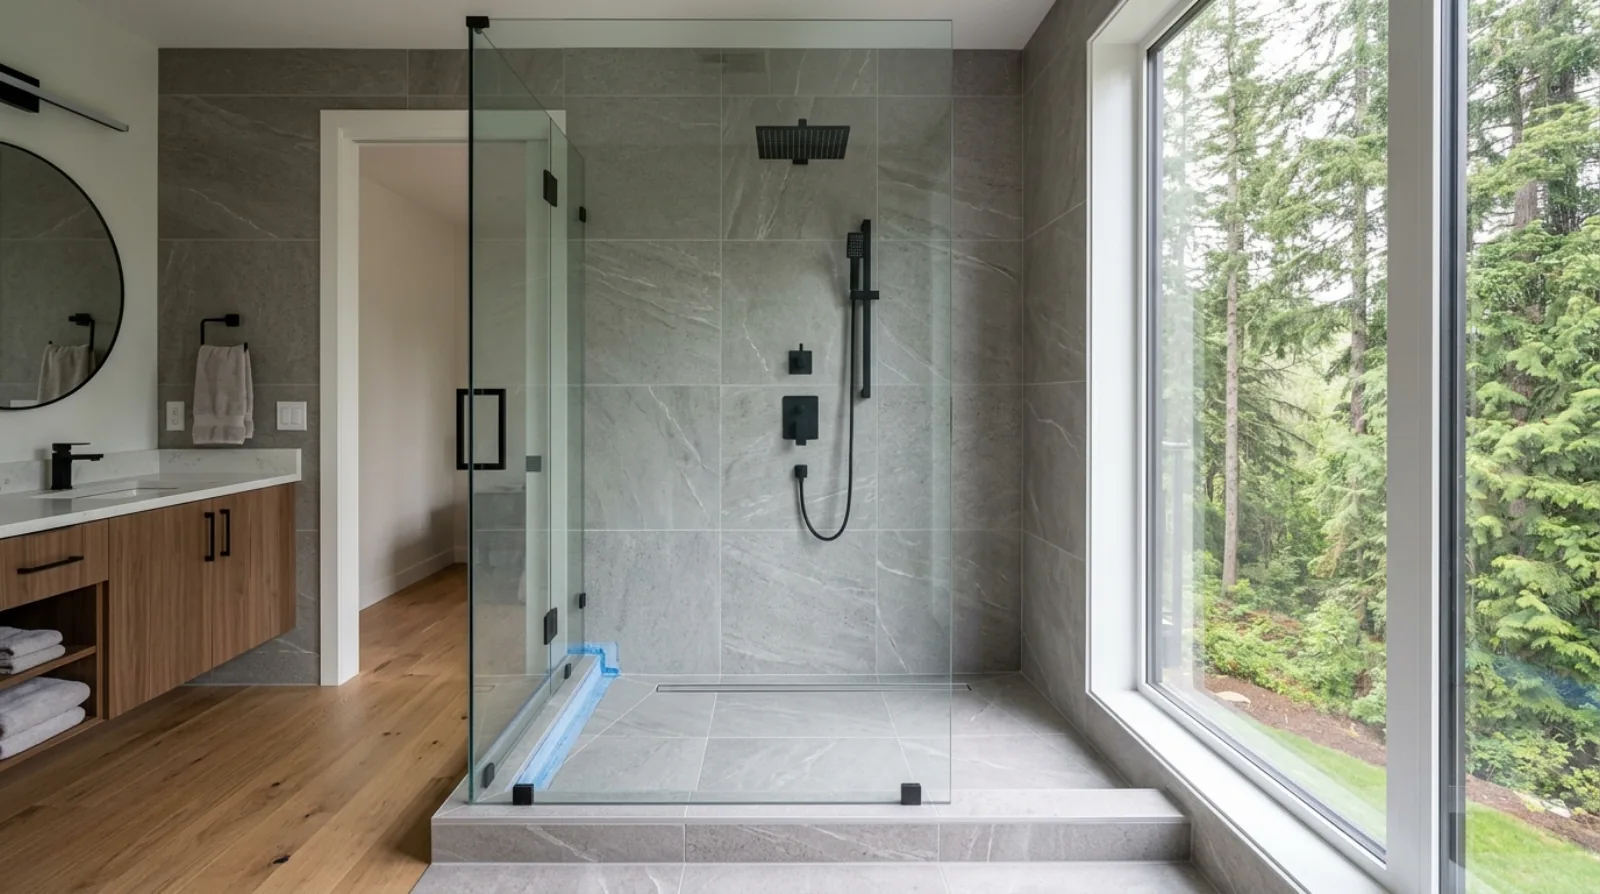
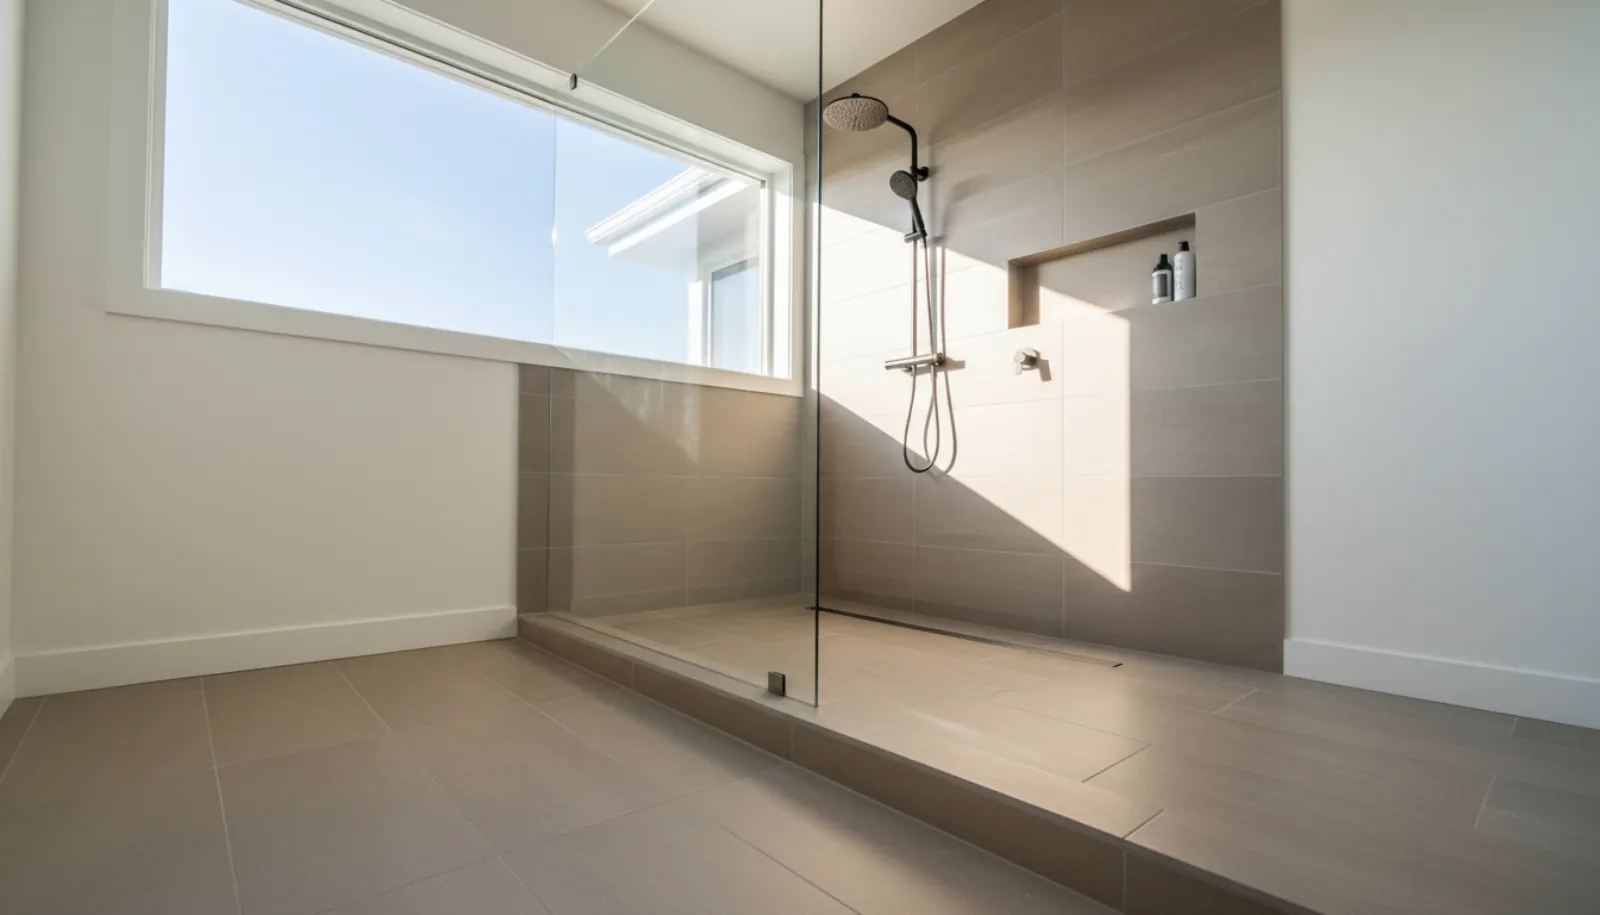
A curbless shower has no step at the entry: the bathroom floor runs straight into the shower. It looks simple, and it only works when the floor framing, the slope, the drain and the waterproofing are planned before the walls go up. Here is how we build them in Burnaby and across the Lower Mainland.
"We want a shower with no step."
We hear that often in bathroom design meetings. A curbless shower, also called a zero-threshold or barrier-free shower, lets the bathroom floor run straight into the shower with nothing to step over. It is easier to walk into, easier to clean, and it is the shower that still works for an owner using a walker or a wheelchair years from now. Our post on aging in place covers the rest of that planning.
It also needs more planning than any other shower. With no curb to hold water back, the shower floor has to be lower than the bathroom floor so it can slope to a drain. That changes the floor framing, which is why the decision has to be made before the framing is ordered.
Why the floor has to drop
In a standard shower, the curb holds the water and the shower floor can be built up on top of the subfloor, sloping to the drain inside the curb.
In a curbless shower, the top of the shower floor at the entry must meet the bathroom floor at the same height. From there it slopes down to the drain. So the base of the shower has to start lower than the bathroom floor, by the depth of the slope, the mortar bed or foam tray, the waterproofing and the tile.
On a wood-framed floor, this means the structure under the shower is lower than the rest of the bathroom. The framer can drop the joists in that area, use a deeper joist with a recessed section, or turn the joists so a lowered section fits between them. The structural designer checks each option, because cutting into joists after they are installed can weaken them. Our post on engineered lumber explains why an I-joist follows its maker's published chart and the engineer's drawings for any hole or notch. On most of our floors the lowered shower area is drawn by the engineer as its own small framing detail, with its own beam or hanger layout.
On a concrete slab, such as a basement or a slab-on-grade ground floor, the concrete in the shower area is poured lower. The plumber sets the drain and the trap in the right place before the pour.
Either way, the shower location, size and drain position are fixed at framing. Moving the shower later means reframing the floor.
Linear drain or centre drain
The drain choice decides how the floor slopes and which tiles can be used.
A linear drain is a long, narrow channel along one side of the shower, usually the back wall or across the entry. The floor slopes in one direction, like a gentle ramp, toward the channel. Large-format tiles can stay flat on a single-direction slope, so the shower floor can match the bathroom floor tile. A linear drain at the back wall keeps the drain out of sight. A linear drain across the entry catches water before it reaches the bathroom floor.
A centre drain is the round or square drain in the middle of the floor. The floor slopes down to it from all four sides, which creates four triangular planes. Large tiles cannot bend to follow those planes, so centre drains work best with small tiles or mosaics, which also give more grip underfoot.
Both drain well when the slope is built correctly. The slope itself follows the waterproofing and drain makers' instructions. The tile installer checks it with a level before any tile goes down.
On a curbless shower the drain location is a framing decision. We place it on the floor plan before the joist layout is sent out.
Icon Projects Team
Waterproofing past the shower
A shower with a curb has a clear edge for its waterproofing. A curbless shower does not. Water from the spray, from a person stepping out, and from the floor slope can all reach past the shower opening.
So we carry the waterproof membrane past the shower and across the wet part of the bathroom floor, turned up the walls at the base. On most builds the whole bathroom floor gets the membrane. The membrane and the drain are one system: the drain has a flange or clamping ring that bonds to the membrane, so water that gets through the grout runs on the membrane into the drain.
The membrane is tested before tile. We plug the drain, fill the shower floor with water and leave it to stand, then check for any drop in the water level and any sign of water below. Our post on tile and the waterproofing behind it covers membranes in more detail.
Glass, layout and keeping water in
With no curb, the layout does the work a curb used to do.
- Size. A larger shower keeps the spray farther from the opening. We aim for enough length that the shower head sprays away from the open side.
- Shower head placement. The head goes on the wall facing away from the entry, or on the side wall pointing deeper into the shower.
- Fixed glass panel. Many curbless showers use one fixed glass panel and no door. The 2024 BC Building Code requires shower glass to meet Class A of the CAN/CGSB-12.1 safety glazing standard (Sentence 9.6.1.4(6) of the 2024 BC Building Code). Our post on safety glass covers the other places it applies.
- Linear drain at the entry. Where the shower is short, a second drain or a linear drain across the entry catches water at the edge.
The glass is measured after the tile is finished, because it is tempered and cannot be cut on site. Its clamps need solid blocking in the walls, installed at framing.
Tile and slip resistance
The shower floor is a wet, sloped surface, so the tile has to give grip. We choose floor tile with a slip-resistance rating suited to wet areas, and we ask the tile supplier for the rating before ordering. Small tiles and mosaics give more grip because of the extra grout lines. Large tiles on a linear-drain shower should have a textured or matte finish.
Many owners want the same tile on the bathroom floor and the shower floor, so the room reads as one surface. A linear drain makes that possible, since the floor plane stays flat. The bathroom side can be a polished version of the tile and the shower side the textured version, if the tile line offers both.
Planning for later: accessibility
Many owners choose a curbless shower because they plan to stay in the house as they age. The BC Building Code has a detailed accessible shower rule in Article 3.8.3.17. That rule is written for public buildings. Its numbers are still a useful guide for a house:
- a shower at least 1 500 mm wide and 900 mm deep,
- a clear space at least 900 mm deep in front of the shower,
- a threshold no more than 13 mm high,
- a hand-held shower head on a hose at least 1 800 mm long,
- a seat 460 mm to 480 mm above the floor, and
- controls within reach of the seat.
On day one, the room can be planned so these parts are easy to add later: blocking in the walls for grab bars and a fold-down seat, a valve location that can be reached from a seat, and a hand shower on a slide bar. Adding blocking now costs little effort and avoids opening tiled walls later.
Heat, ventilation and the rest of the room
A curbless shower pairs well with a heated floor, because the floor dries faster after a shower and feels warm underfoot. The heating mat or tubing goes under the tile across the bathroom floor, and the shower area is planned with the floor heat supplier. Our post on radiant and forced air heat covers the heating system.
The bathroom also needs good ventilation, since an open shower lets steam into the whole room. Our post on bathroom exhaust fans covers fan sizing, ducts and controls.
How we plan a curbless shower on a Burnaby build
- Decide early. The curbless shower goes on the floor plan before the structural drawings are finished.
- Fix the drain and size. Linear or centre drain, its position, and the shower size are set before framing.
- Lower the structure. The structural designer details the lowered floor or the slab recess.
- Install blocking. For glass clamps, grab bars, a seat and the hand shower slide bar.
- Waterproof and test. Membrane past the shower, bonded to the drain, flood tested before tile.
- Tile, then glass. Slip-resistant floor tile, then glass measured from the finished tile.
A curbless shower takes more planning than a standard shower, and most of that work is finished before the tile goes in. Our custom homes service page covers how we design bathrooms on builds in Burnaby, North Vancouver and across the Lower Mainland.
Frequently asked questions
- What is a curbless shower?
- A curbless shower, also called a zero-threshold or barrier-free shower, has no raised curb at the entry. The bathroom floor runs into the shower at the same level, and the shower floor slopes down to a drain inside the shower area.
- Can you build a curbless shower on a wood-framed second floor?
- Yes, if it is planned before framing. The shower floor has to sit lower than the bathroom floor to make room for the slope and the drain, so the joists under the shower are lowered, recessed or laid out to suit. The structural designer and the framer plan that area together. Adding a curbless shower after framing is much harder.
- Is a linear drain better than a centre drain?
- A linear drain is a long, narrow drain along one side of the shower. It lets the floor slope in one direction, so large-format tiles can stay flat. A centre drain needs the floor to slope from all four sides, which works best with smaller tiles. Both drain well when the slope is built correctly.
- Does a curbless shower leak more than a shower with a curb?
- It can if the waterproofing stops at the shower edge. Without a curb, water can reach the bathroom floor, so we carry the waterproof membrane past the shower opening and across the wet part of the bathroom floor. The floor slope and the glass placement keep most water in the shower.
- What glass is required for a curbless shower?
- Sentence 9.6.1.4(6) of the 2024 BC Building Code requires shower and bathtub enclosure glass to meet Class A of CAN/CGSB-12.1, Safety Glazing. A fixed panel without a door is common on curbless showers, placed so the spray does not reach the open side.
- What size should an accessible shower be?
- The BC Building Code's accessible shower rule for public buildings (Article 3.8.3.17) sets a shower at least 1 500 mm wide and 900 mm deep, with a clear space 900 mm deep at its entrance and a threshold no more than 13 mm high. That rule is written for public buildings, and it is a useful guide when an owner wants a shower that will work with a wheelchair or walker later.